Since my last couple posts were very technical, let’s have a little more fun today. The summer monsoon in Arizona has given us a little bit of everything this year, including some incredible dust storms and lightning displays. We’ve all seen the jaw dropping lightning photos that get highlighted on social media. Now it’s time to learn how to take them. Hint: while many lightning photos look like they were taken during the day (or at sunset), most were actually taken in the dark with a long shutter exposure.
What you will need:
- A digital SLR camera with a manual shutter
- A lens with a manual focus
- A tripod
- Spare battery or two
- [Optional] A shutter remote
- A bit of luck
Finally, pick a night where you’ll get good lightning storms, but not severe weather. You don’t want to be focused on a great lightning storm and have extreme winds, large hail, or tornadoes sneak up on you. There’s a reason one of the golden rules of storm chasing is to never chase at night: it’s because you can’t see severe weather hazards coming until it’s too late. The same general rule applies here.
1. Choose a Lens
When choosing a lens, you want something that will give you a balance between zoom level and sky coverage. Wide angle lenses will give you the best sky coverage, but captured lightning often only takes up a very small percentage of the photo. With telephoto lenses, lightning will take up the majority of the frame. Unless you’ve aimed directly where it strikes, you’ll miss the shot. I find my 55-200 millimeter lens gives me ample sky coverage, but still allows the lightning bolt to take up the majority of the shot.
2. Set the Manual Focus of Your Camera Before It Gets Dark
In an ideal world, you could just set the lens’ focus to infinity and the photos would come out nice and clear. Unfortunately, I find that on my lenses, the sweet spot is not quite to infinity, and if I set the focus to infinity, I wind up with blurry pictures. Instead of trying to guess the sweet spot in the pitch dark while wasting precious lightning photos, set the focus before the sun goes down. The camera doesn’t have to aimed at something miles and miles away to get the focus right, just something off in the distance a ways. You do not need to be in the exact location you plan to do your photo shoot. Remember that most lightning strikes you capture on film are only ever a mile or two away at the most.
3. Find an Area with a Clear View of the Sky Towards the Storm
While you do need a clear view of the sky, you can’t just set up anywhere for safety reasons. Do not under any circumstance whatsoever set up anywhere where you may be struck by lightning. This includes areas near or under trees. The electricity from a lightning strike can “jump” from trees to you. In addition, trees (especially sappy trees such as pines and maples) tend to explode when they are struck by lightning, essentially turning the flying chunks of wood into flaming shrapnel. You don’t want to be anywhere near that. If you’ve never seen a tree get struck by lightning, search for it on YouTube. It’s quite spectacular.
So what are good places to set up? The best place to set up is inside a building, but unless you’re in a high rise or in a rural area, finding a building with a clear open view of the sky can be a challenge at the best of times. If you can’t find a spot in a building, get inside of any grounded structure. If all else fails, shooting from inside a vehicle works well, too. One huge advantage of using a vehicle is that you can move around relative to the storm, so you can get more photo opps than you would if you were inside of a building or structure.
When using a vehicle, do everything you can to avoid being in a position where the vehicle can get struck by lightning. While you should be safe inside a vehicle in the event of a lightning strike, lightning will cause serious damage to the vehicle, and you will likely need a tow truck to get you home.
If Possible, Take Lightning Photos From Home
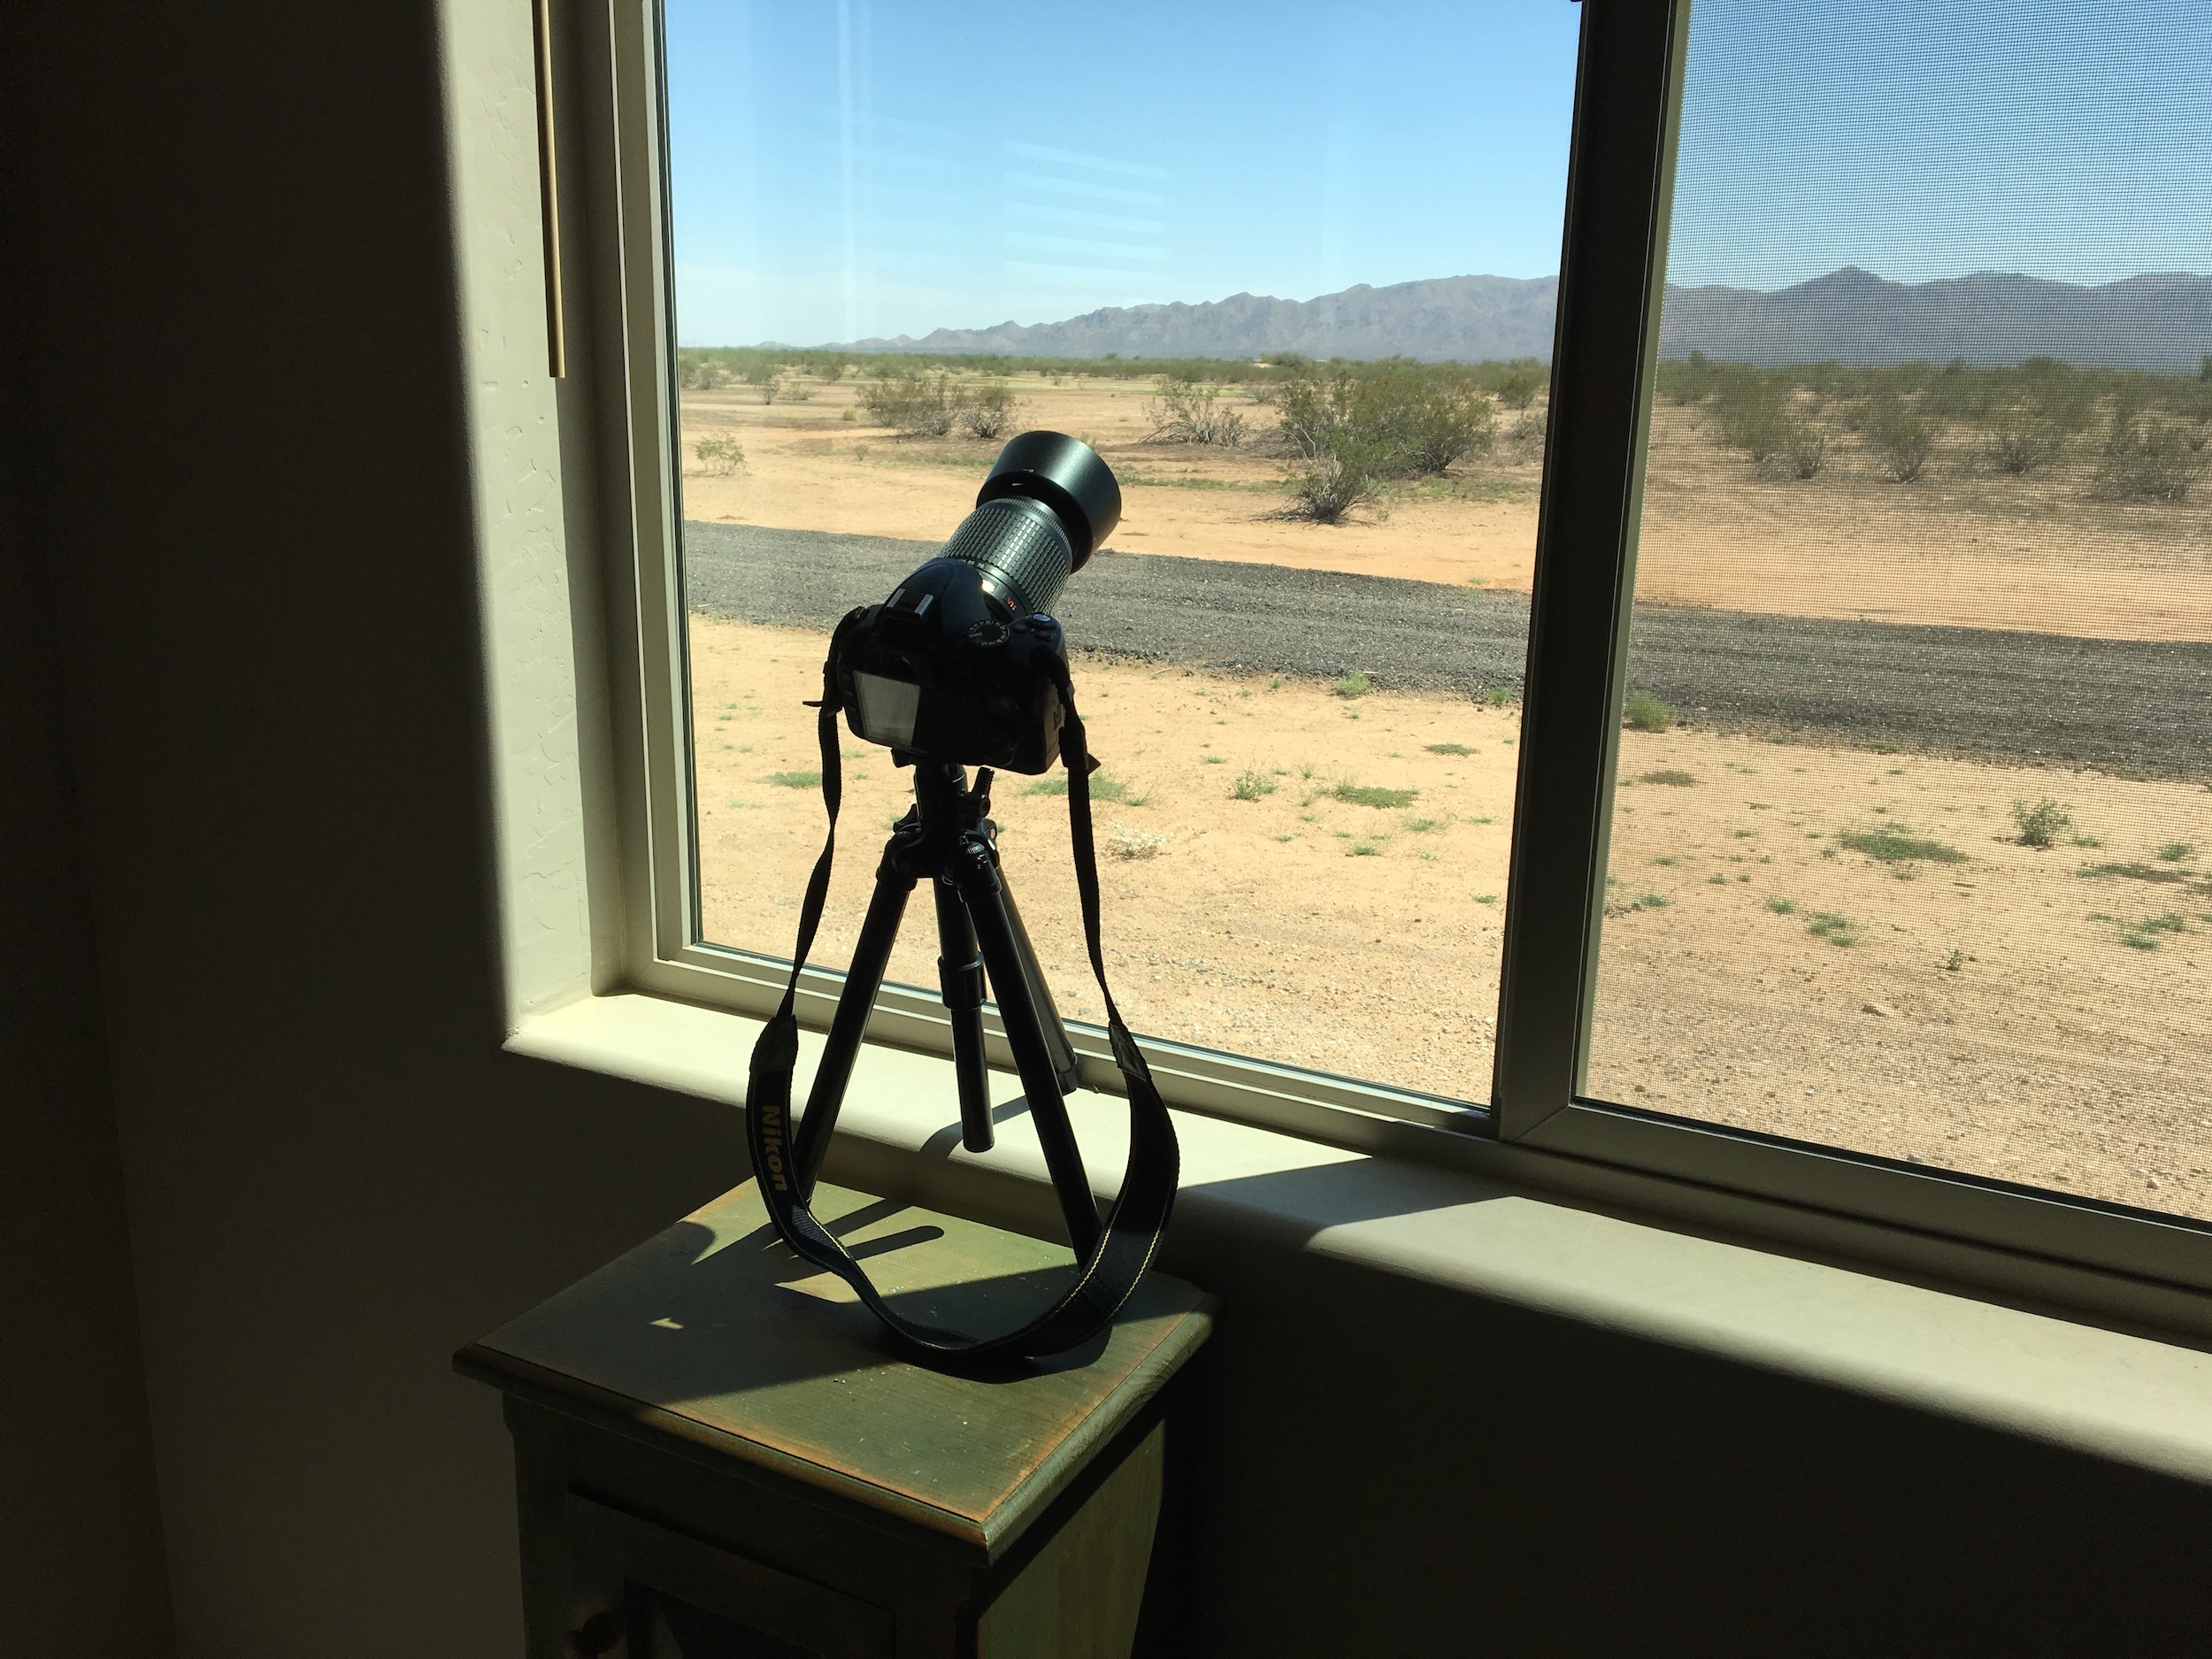
I am fortunate enough that I can set up my tripod right in my kitchen window to do lightning photography. This is a pretty bare-bones setup, but it’s all you need. I use the mountains in the distance to set the manual focus of the camera before the sun sets.
4. Set Up Your Tripod
Aim the lens where the majority of the lightning bolts strike. Re-aim it as the storm moves relative to you. Depending on the size of your lens, you may need to experiment with zoom levels, too. Make sure you have a plan for what to do if it starts raining, as rain and expensive cameras do not mix. If you’ve chosen your location properly, you shouldn’t have to worry about this, but it’s always good to have a plan in place.
5. Using the Manual Shutter Setting, Use Long Exposures, and Let the Picture Take Itself
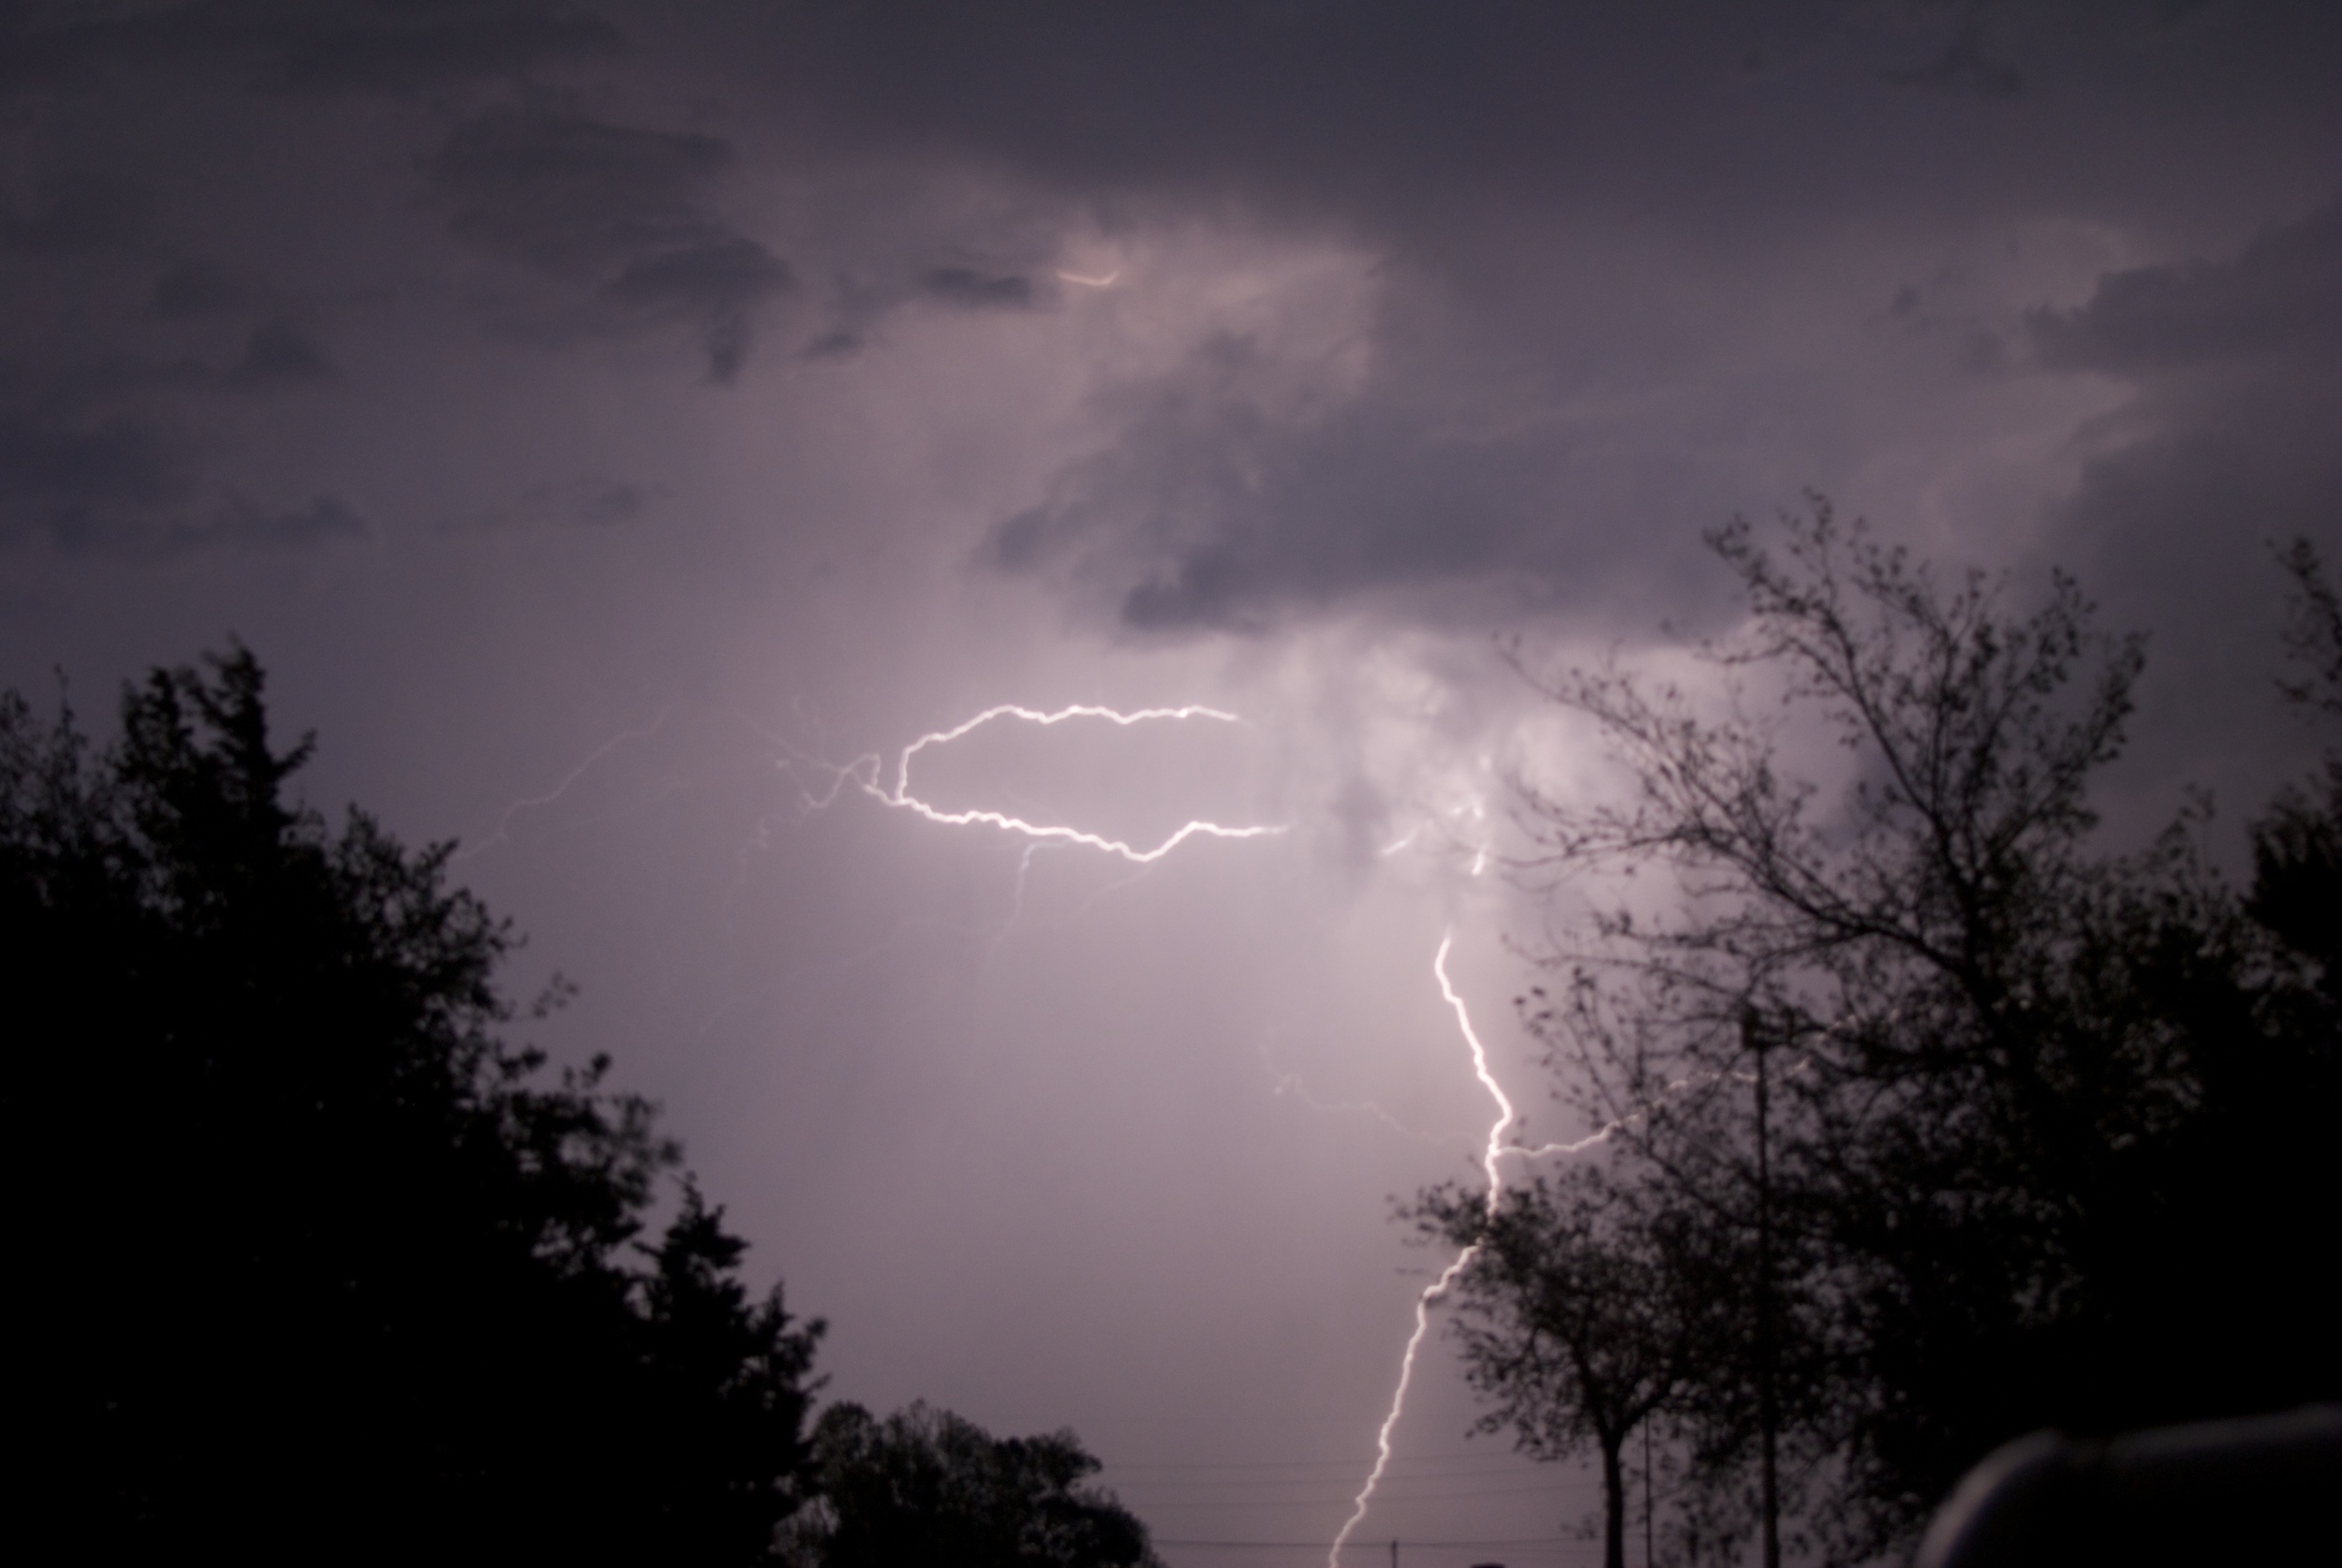
There is one, and only one reason that we do lightning photography at night: the human reflex is not fast enough to take pictures of lightning during the day. Any pictures taken during the day were either pure luck or used a lightning detector.
The photo below is the only lightning photo I’ve ever taken during the day, and it was completely by accident. I shot this photo out the window of a van with an iPhone on my way from the Grand Canyon back to Williams, Arizona in July, 2015. I was only trying to get a picture of the storm, and the timing of the lightning bolt just happened to align itself perfectly with me pressing the button to take the picture.

For camera settings, I recommend the following:
- Manual shutter mode (or pure manual mode if you know what you’re doing)
- Manual focus, which you should have set earlier.
- Shutter speeds of 1 to 8 seconds, depending on how much ambient light is present
- Having a spare battery or two is highly recommended, as long shutter speeds burn through batteries an an unbelievable rate.
- Take a few “test” pictures before you start to get an idea of how ambient light affects exposure levels at different shutter speeds.
- Shoot in RAW format which allows for recovering washed out photos and better touching up
- If you shoot in JPEG mode and have a washed out picture, you will not be able to recover it. With RAW format, you can.
Keep the Shutter Open as Much as Possible
Once you have your ideal shutter speed in place, you want the shutter to be open as much as possible, so as soon as the shutter closes on one picture, open it right back up so the next picture can begin. It’s incredibly frustrating when you get an amazing lightning strike and the shutter is closed for any reason. It happens way more often than you’d think.
Finally, be prepared for a lot of dark photos of nothing. My most successful lightning shoot this summer yielded 22 useable photos out of about 300 pictures shot that night – a success rate of about 7%. If you keep 10% of your photos, you are well ahead of the game. Even a 5% keep rate I consider very successful.
6. Touch Up The Photos With a Computer Program
I take great pride in the fact that my photos are for the most part undoctored, and when I do doctor them, I make it very obvious that they are doctored. The same is true for my lightning pictures.
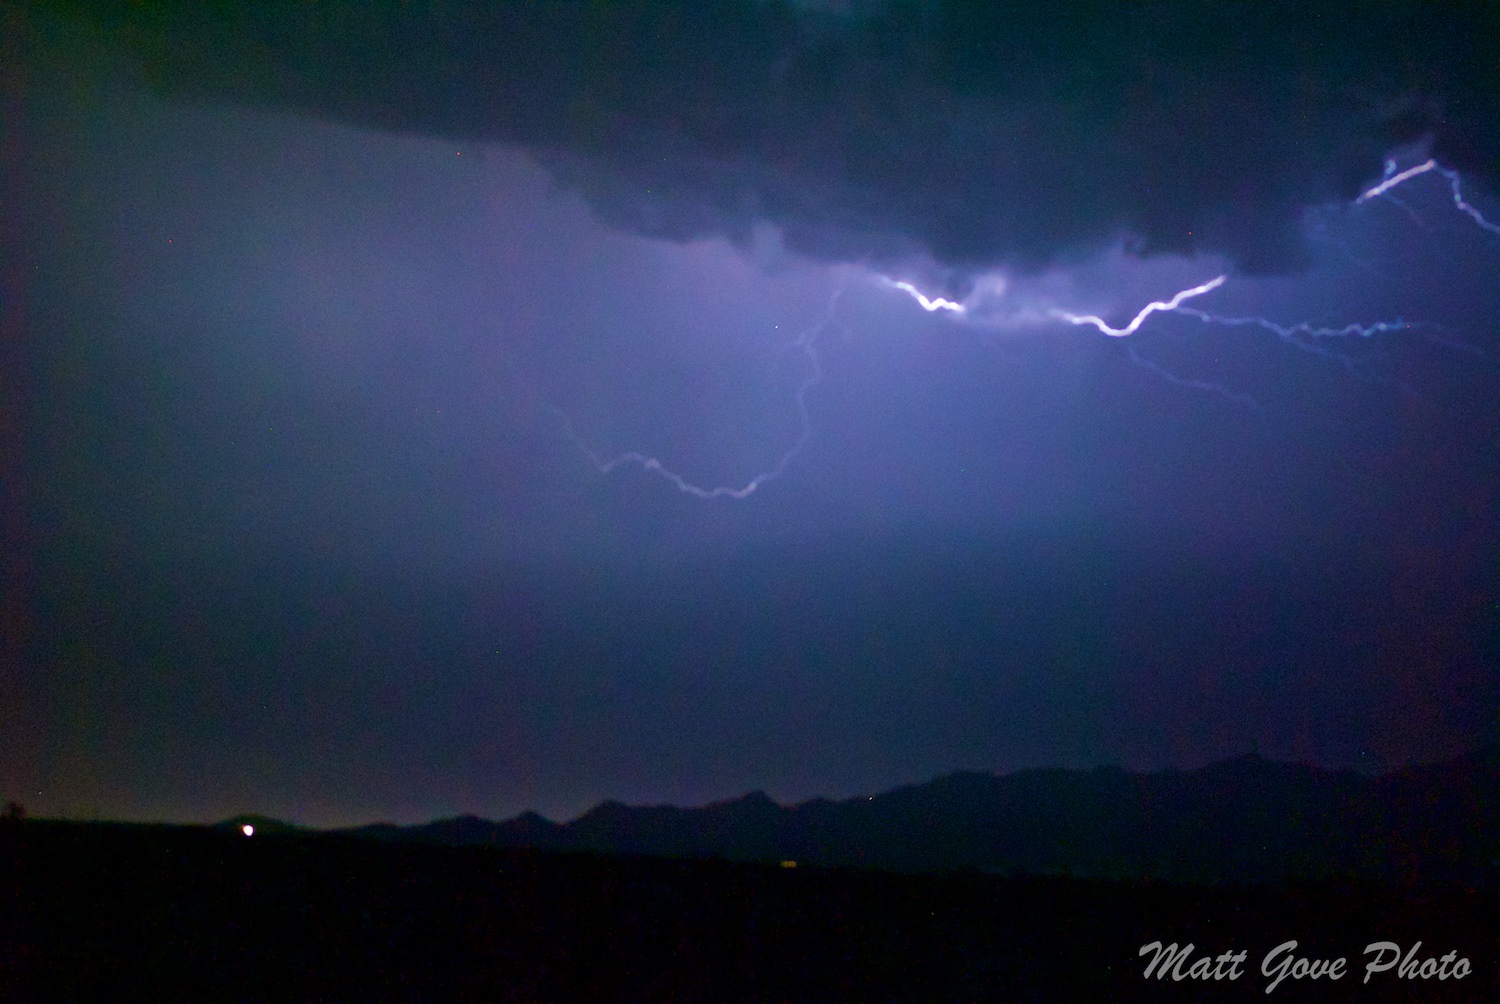
When you first pull the photos off the camera, the lightning will generally look almost black and white. Most of the lightning photos you see online are a beautiful electric blue or purple color. So what gives? It turns out, some very minor, and very simple touching up of the saturation and/or vibrancy is enough to get the job done.
The full touch up process will go something like this. Keep in mind these should all be tweaks and minor adjustments, not huge changes, but you are ultimately the judge of what looks best in your photos.
- Make any necessary adjustments to the exposure, including darkening highlights (if necessary). Some pictures need it, and some don’t.
- Add a little definition to sharpen the edges of the lightning bolts.
- Turn up the saturation and/or vibrancy. Some professional photo editors allow you to adjust the saturation and vibrancy of individual colors.
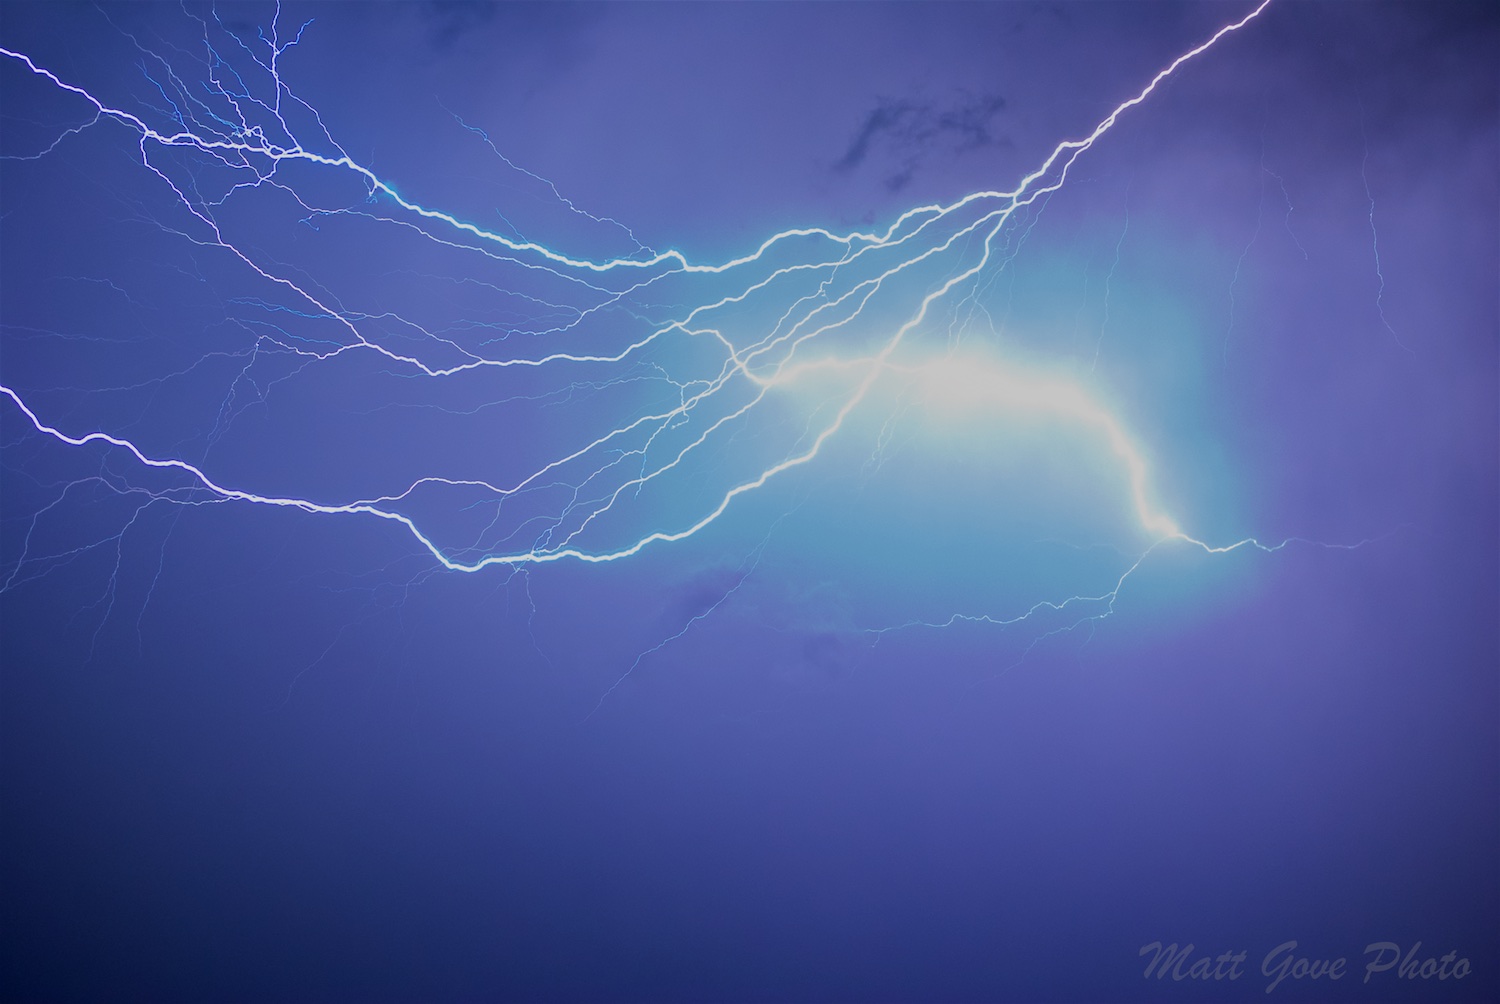
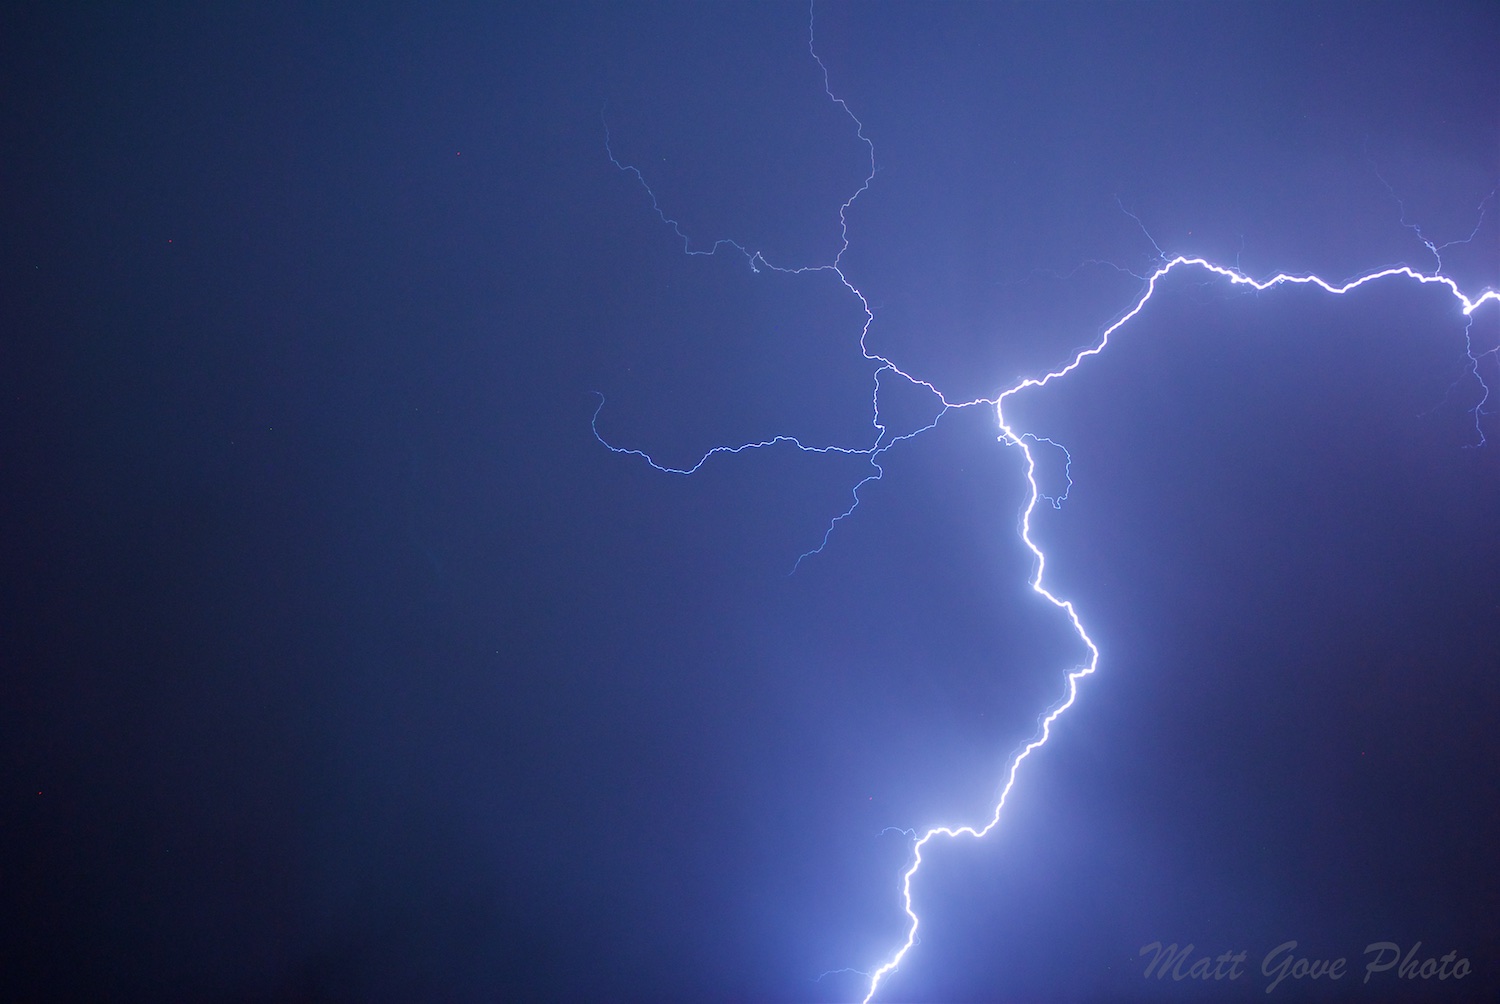
You want to be shooting for a final lightning photo that looks something like this:
7. Show Off Your Pictures to Friends and Family
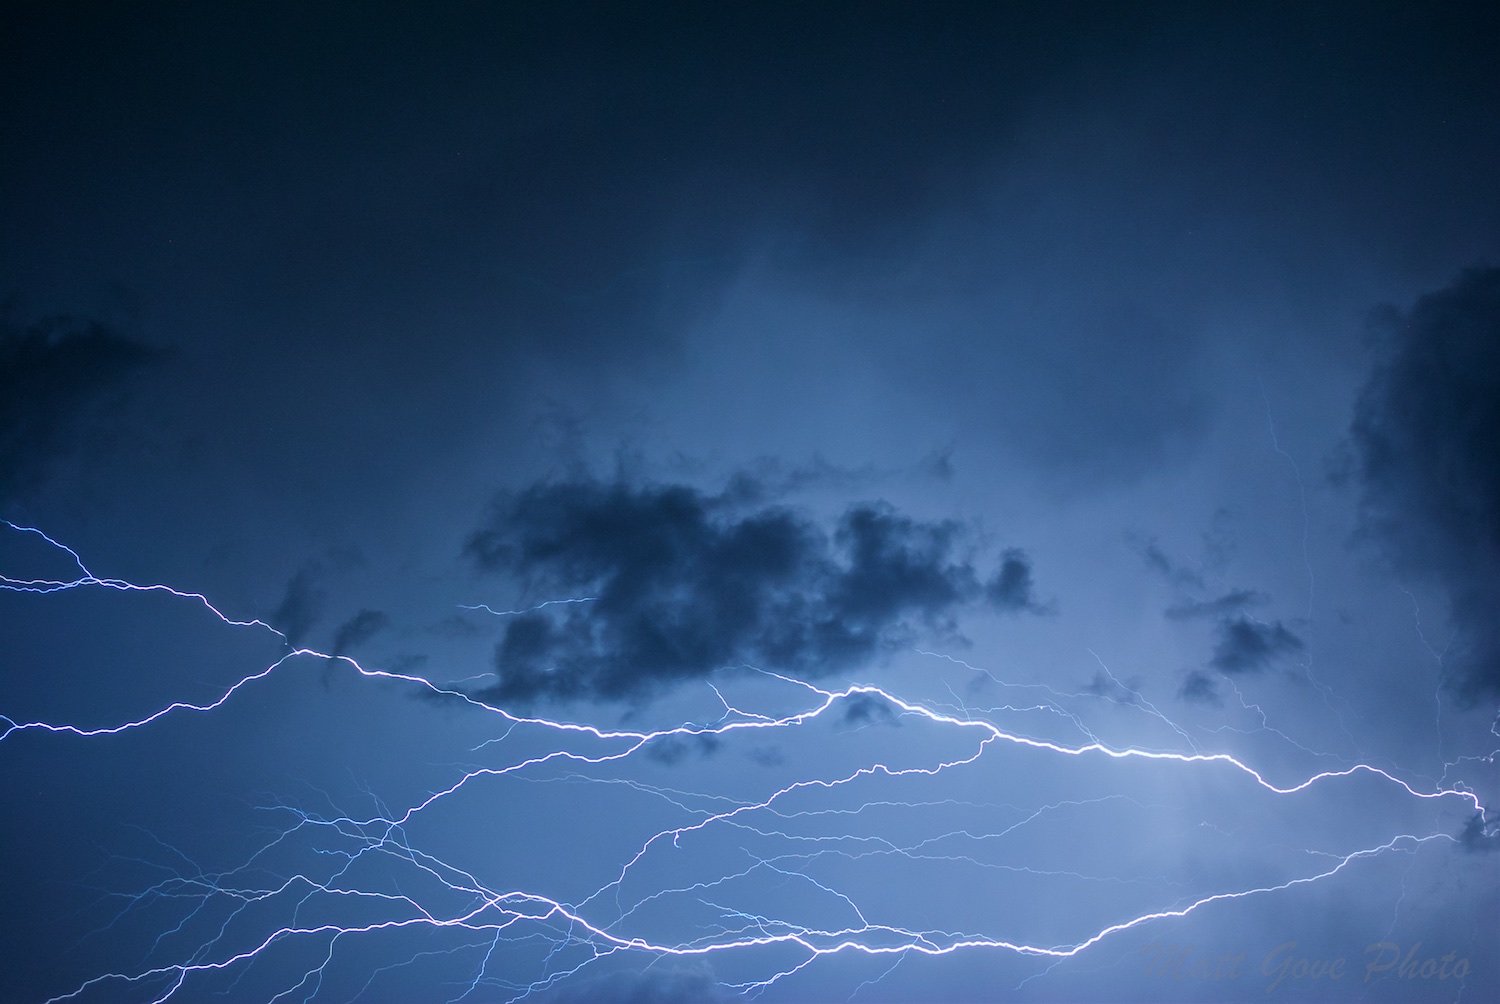
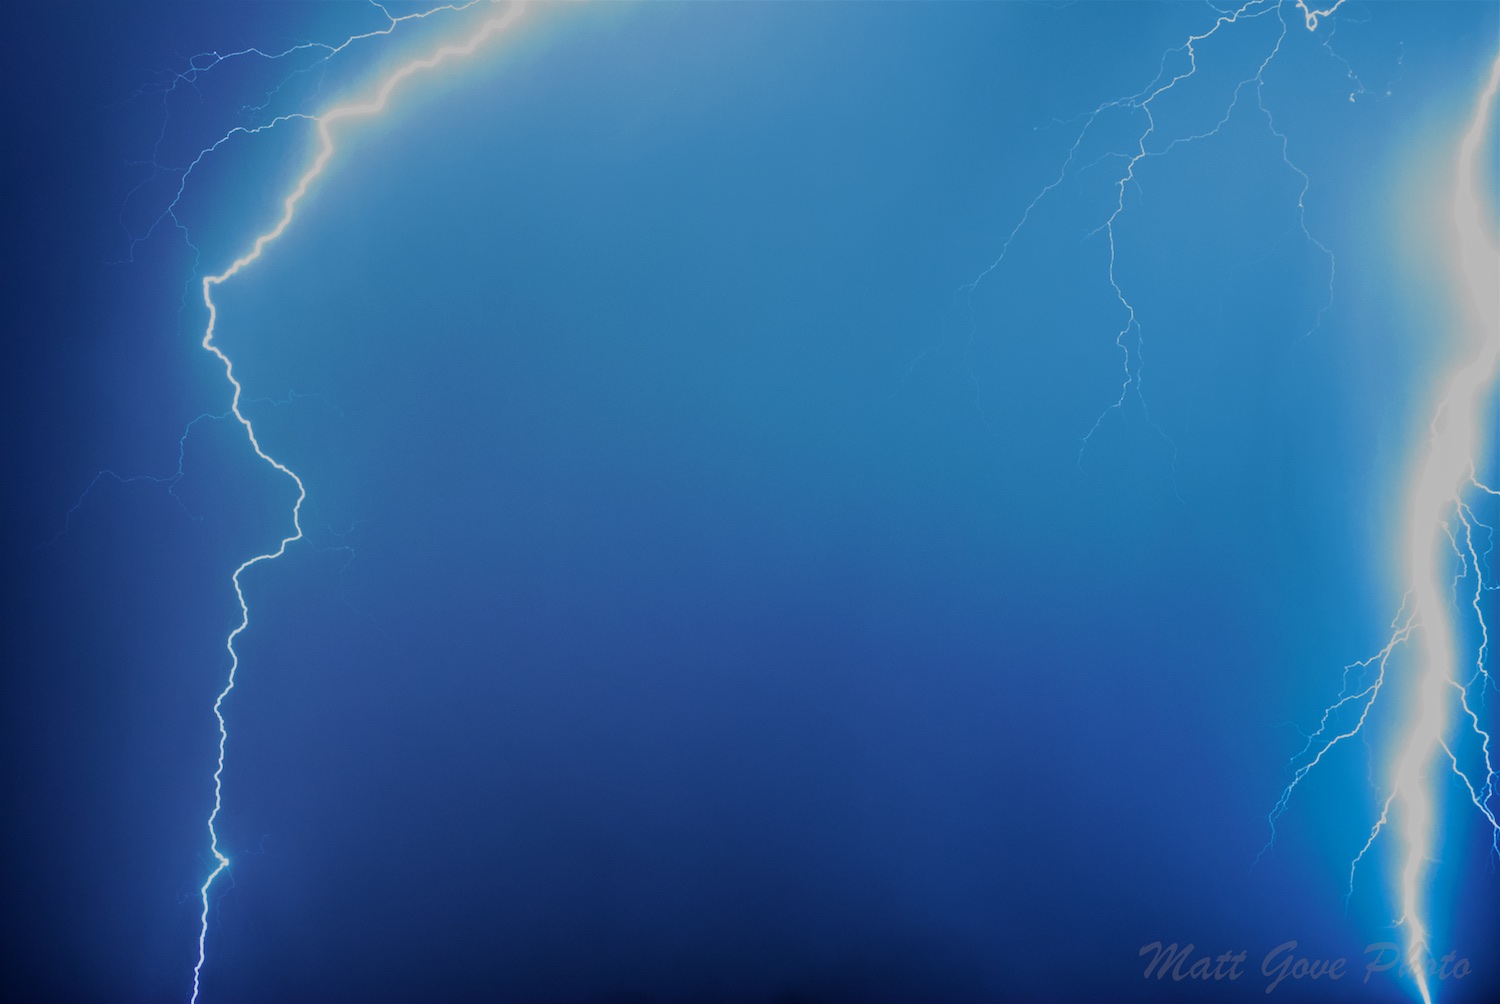
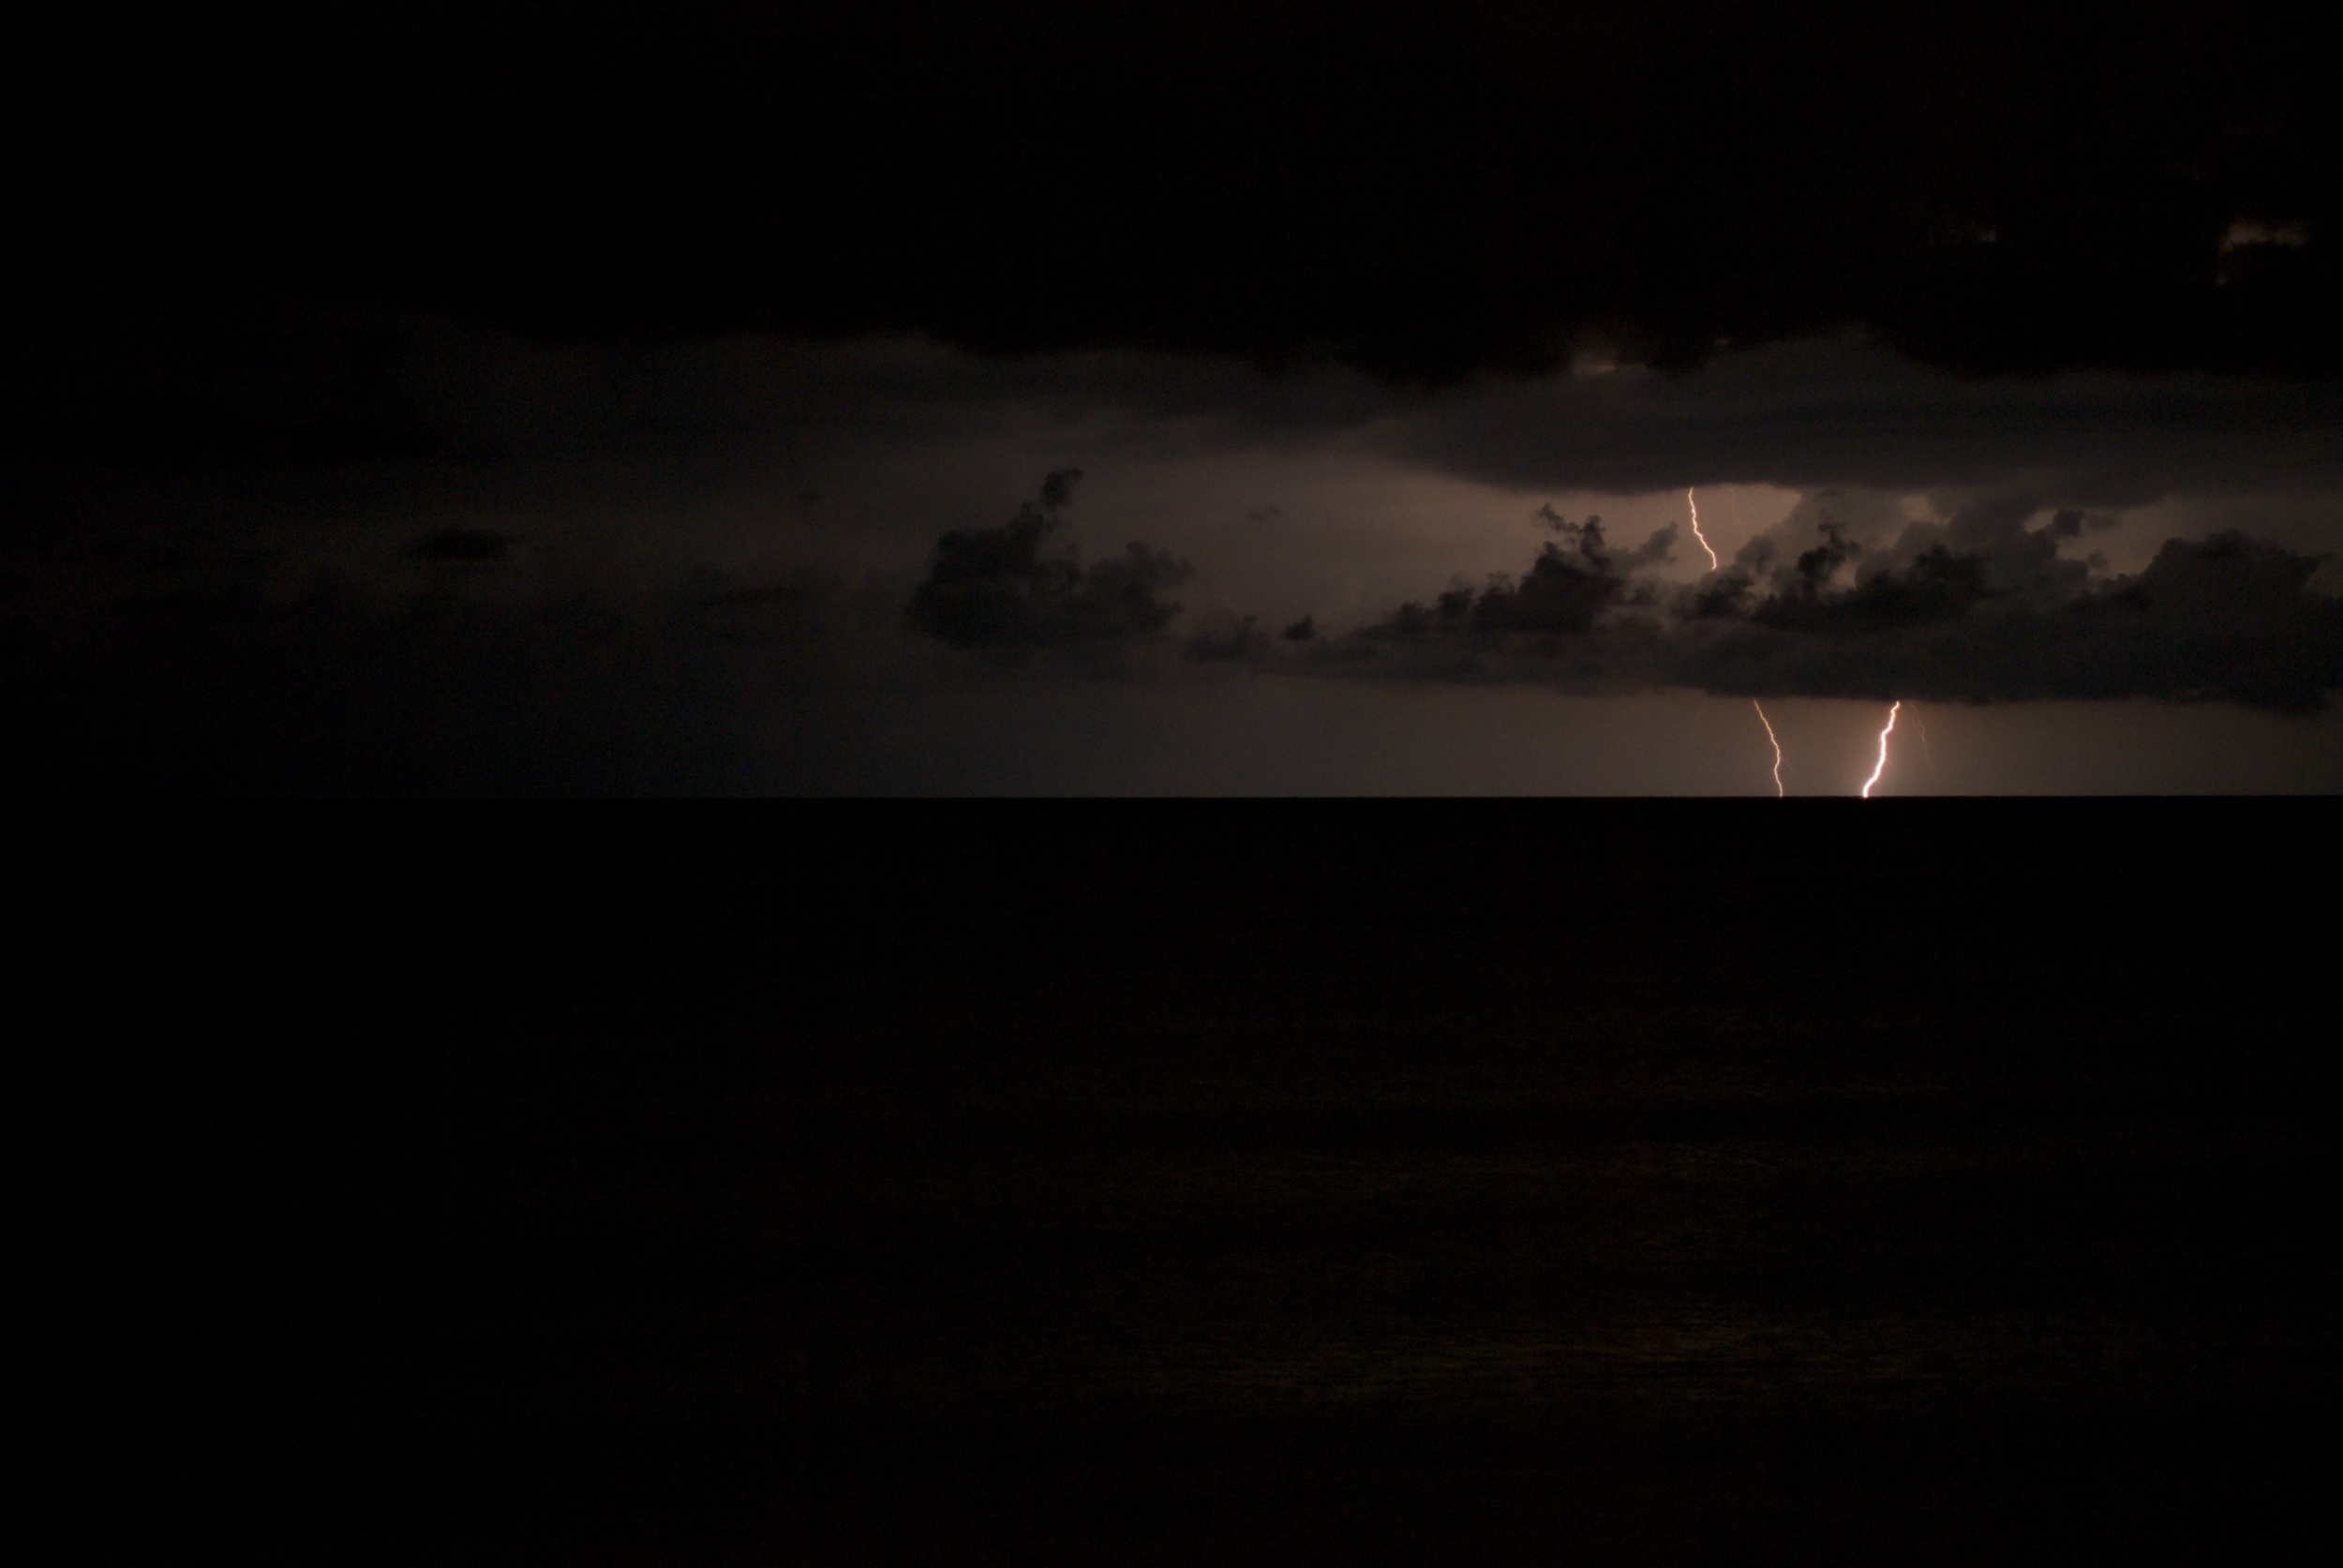
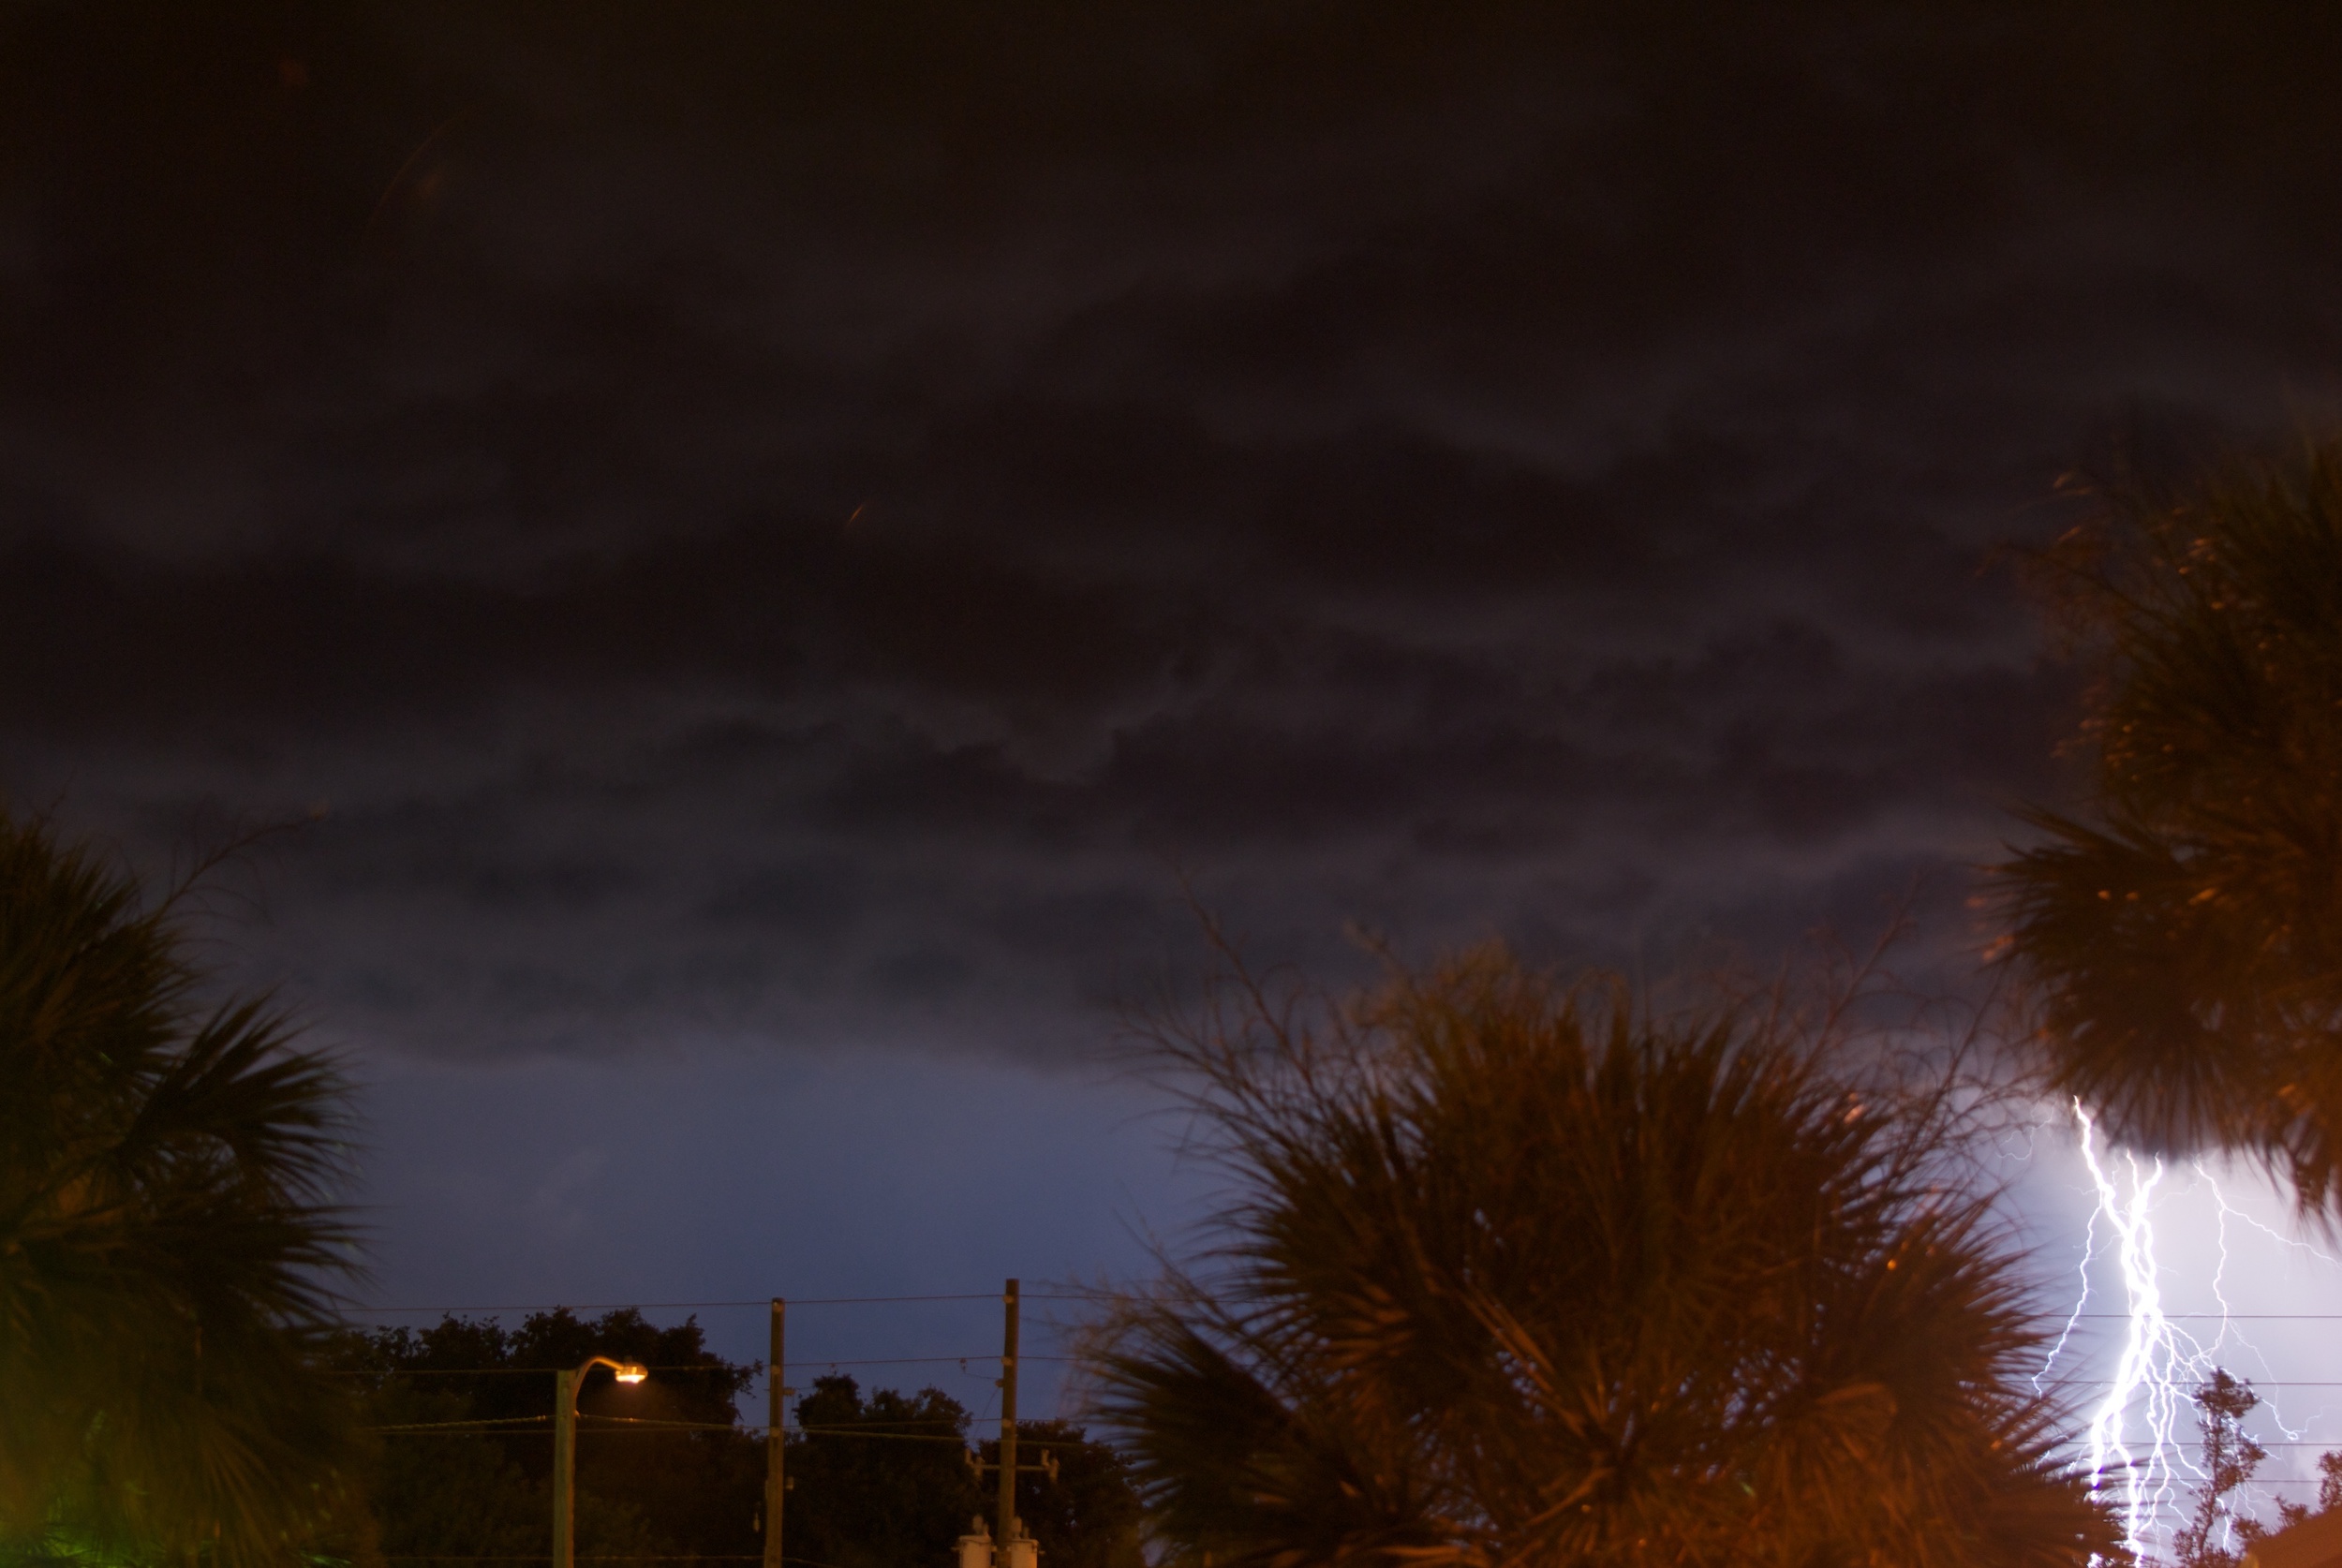
If you followed all of the previous steps, you should get plenty of ooh’s and aah’s from your lightning photography. I’ll leave you with some more examples of lightning photography I’ve taken both this summer and in years past.
