As many of you know, chasing tornadoes and severe storms during my tenure as a meteorology student at the University of Oklahoma heavily influenced both my photography style and my quest for adventure. As a former storm chaser, I believe that there is never a bad time for landscape photography. You just have to know how to use weather to your advantage when you compose your landscape photos.
Weather can be an incredibly powerful way to set the mood and tell your story. Indeed, you can use weather not just in your landscape photos, but also in other types of photography, as well as videography. While photography is primarily a visual medium, when executed properly, use of weather in your photos will stimulate other senses as well, such as sound, smell, and feel.
A grey, snowy scene might conjure up a cozy feeling of sitting around a warm fire with the smell of hot coffee or hot cocoa wafting through the room. On the other hand, a picture of a bright and sunny tropical beach bursting with vibrant colors puts you in a relaxing mood. Close your eyes and you’ll be able to feel the warm, gentle breeze and smell the salty air coming off the ocean. You don’t just want your viewer to see the scene in your photos. You want them to experience it.
Make a Specific Weather Feature the Subject of Your Landscape Photos
There can be a fine line between weather and landscape photography. And I’ll be the first to admit that I’ve toed that line more times than I can remember. While it may seem like everyone has their own definition these days, I prefer to keep things simple. If the landscape is the subject of the photo, it’s a landscape photo. Likewise, if the weather is the subject of the photo, it’s a weather photo.
So what kind of weather features can you use as the subject of your landscape photos? Turns out, just about anything. The only weather feature that really doesn’t work is a cloudless, sunny day. I would argue that no matter how hard you try to make the cloudless, sunny day the subject of your photo, your viewers’ eye will always be drawn to the landscape. However, I find that some weather features tend to perform better than others.
- Lightning
- Tornadoes
- Severe Thunderstorm Clouds and Cloud Formations
- Snow
- Heavy Wind
- Fog and Mist
And that’s just to name a few. The good news is that no matter where in the world you are, you have both landscapes and weather. You’ll need to know what the best photo opportunities are based on the landscape, season, and typical weather patterns. I certainly wouldn’t be trying to get pictures of snowy, majestic mountains in Texas or pictures of fog and mist in Arizona.
Example #1: Go All-In and Transform Your Landscape Photos into Weather Photos
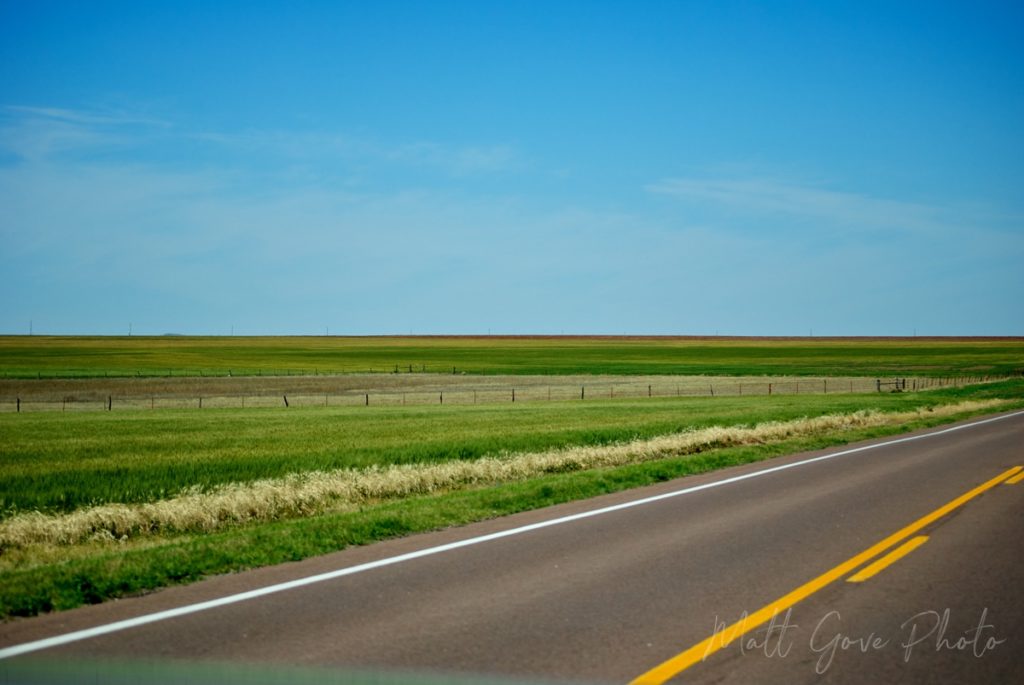
If you have a homogeneous landscape or a landscape that leaves a little something to be desired, you’ll want to go for the straight weather photo. Anyone who has gone storm chasing in Tornado Alley has used this strategy. Coupled with the fact that these photo ops are restricted to such a small geographic area for only a few months of the year, it’s why photos of supercells and tornadoes so often leave you in complete awe.
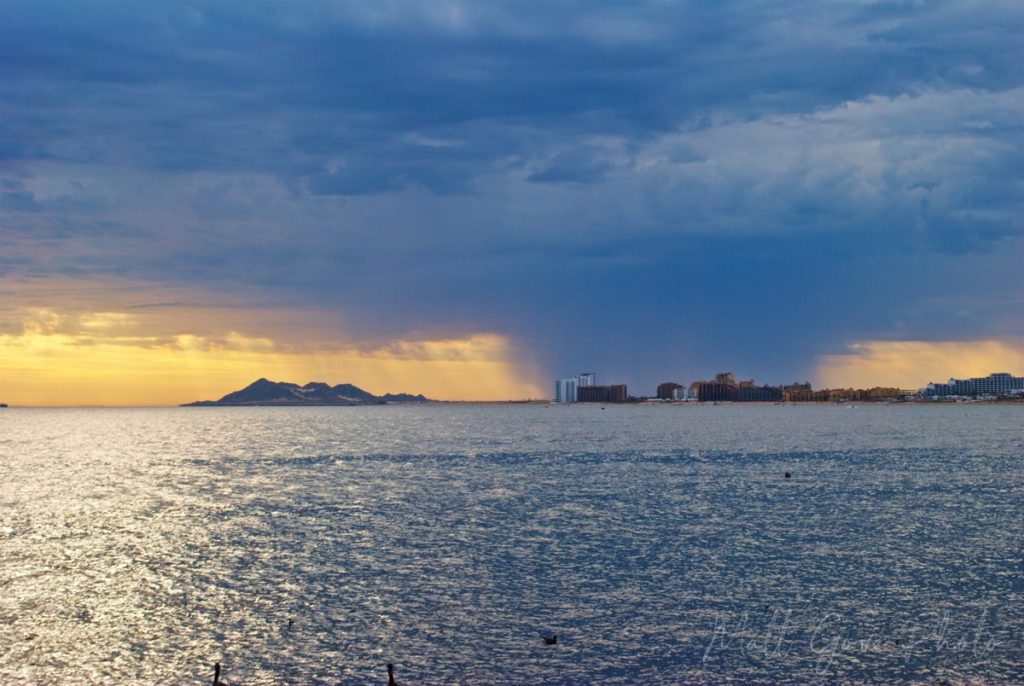
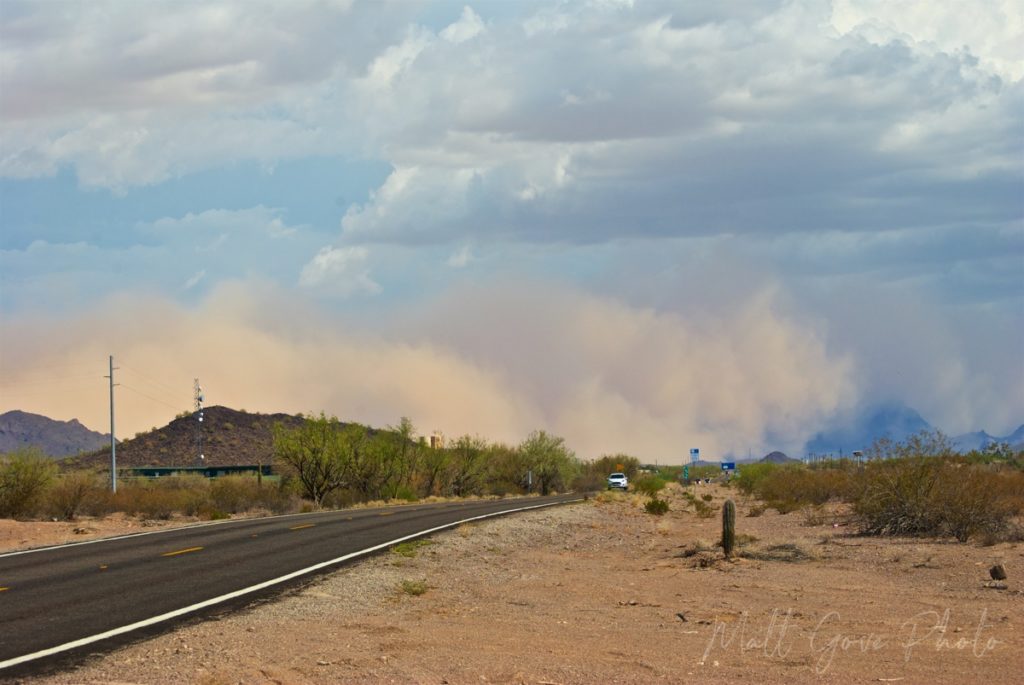
Let’s look at a few examples of true weather photos. The landscapes in these photos all have one thing in common. Can you figure out what it is?
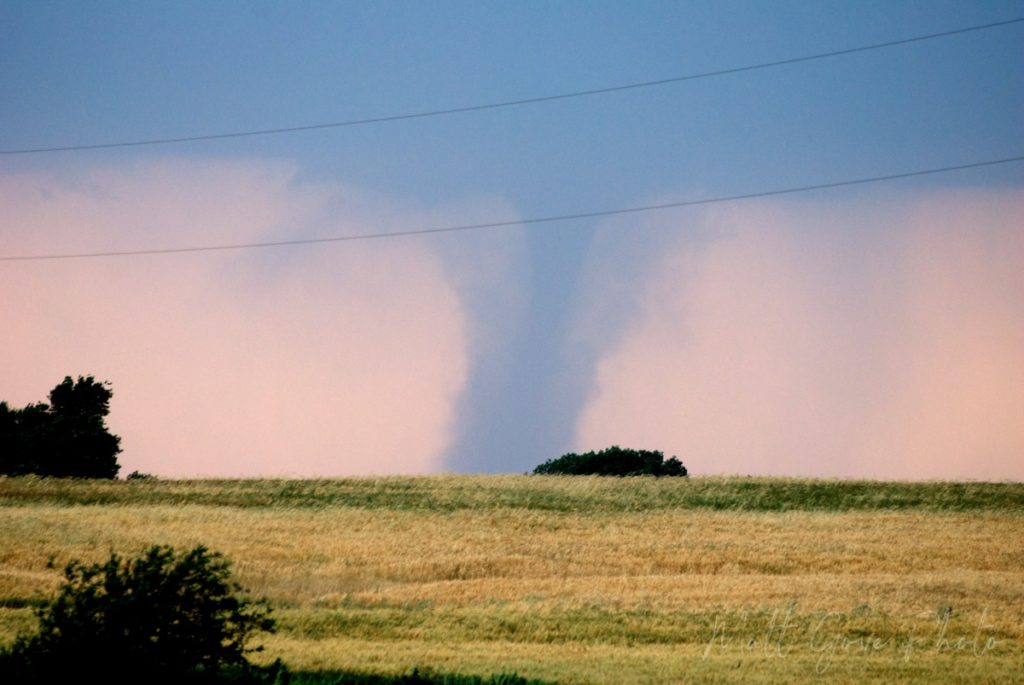
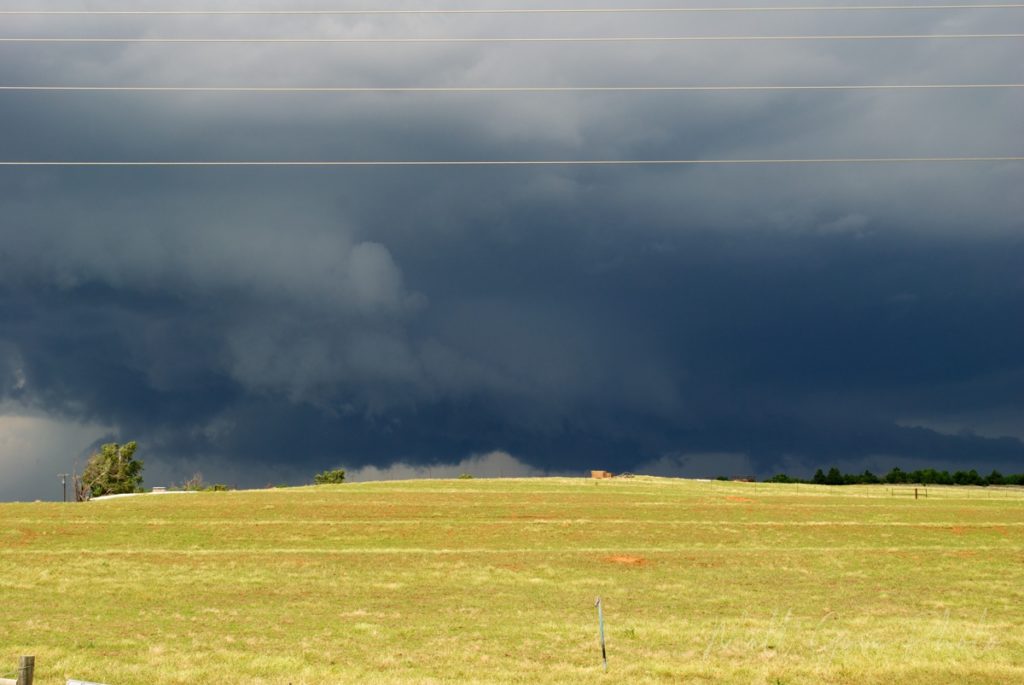
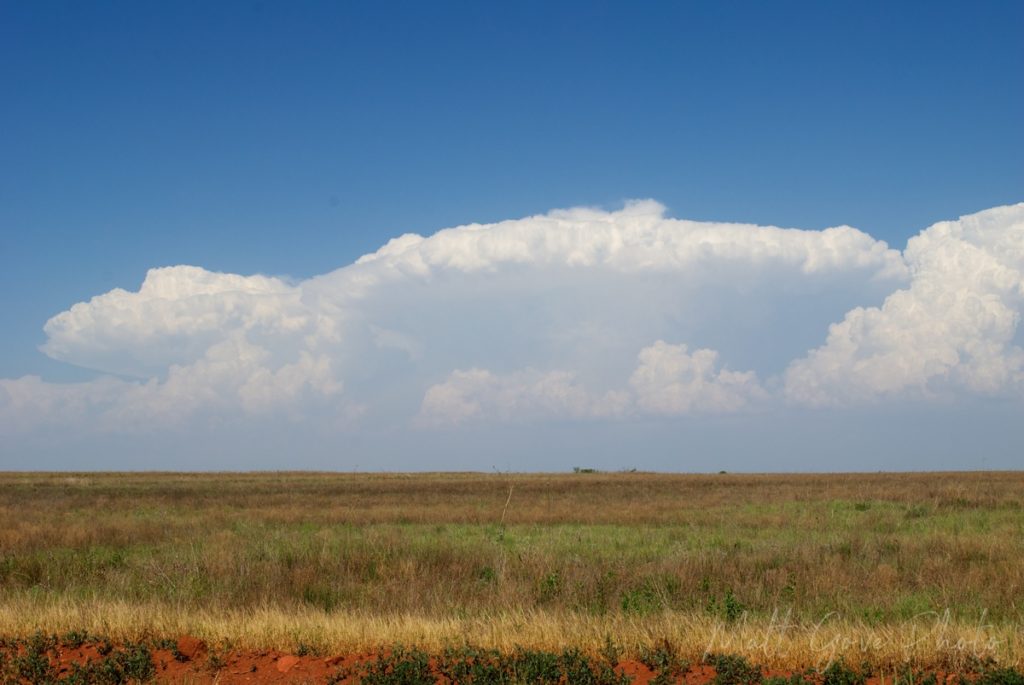
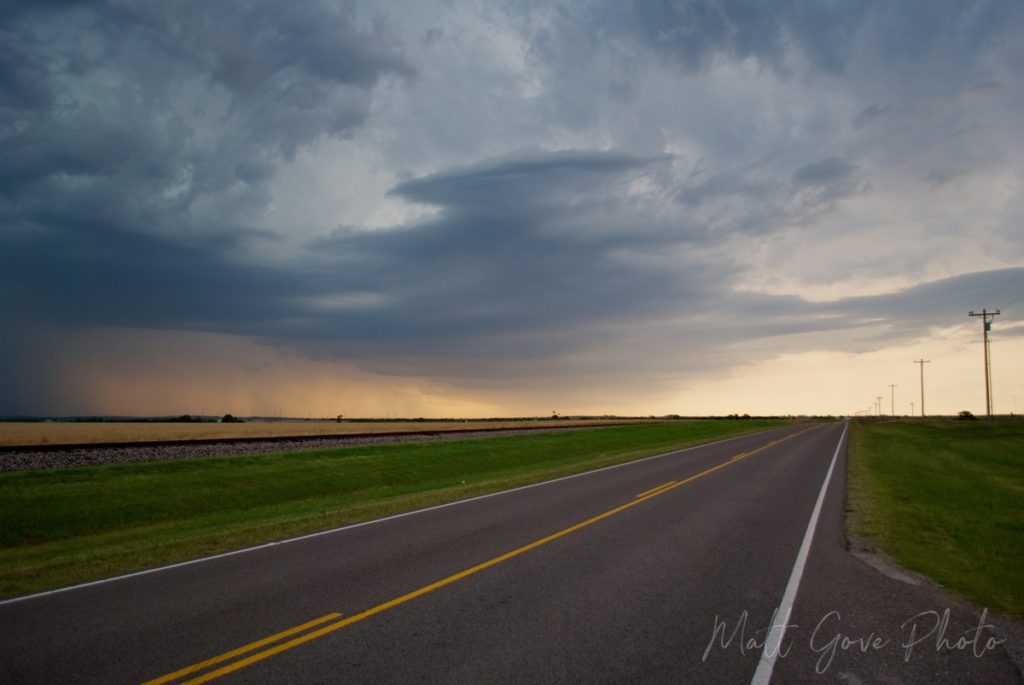
Were you able to spot what the landscape in all three photos have in common? They are all homogeneous landscapes that are, on their own, actually quite boring. It’s the weather in each photo that gives it its pop and pizazz. If we take the weather out of those photos and just look at the landscape, you won’t feel much of a reaction. As a result, your viewer won’t be able to get that fully immersive experience that truly great photographs can offer.
Example #2: Use Weather to Subtly, yet Powerfully Draw Out Reactions and Emotions in Your Landscape Photos
On the other hand, what if you’re somewhere that has particularly beautiful or dramatic landscapes? You’re probably a little hesitant to completely abandon the landscape in your composition like we did with straight weather photography. I don’t blame you!
Instead, you want to leave the landscape as the subject of the photo and use weather to set the mood, trigger an emotion, or tell a story. To illustrate how to properly do this, let’s take a trip down to the white sandy beaches of Florida. You should feel two very different emotions when you look at these photos, which were taken within just a few miles of each other.
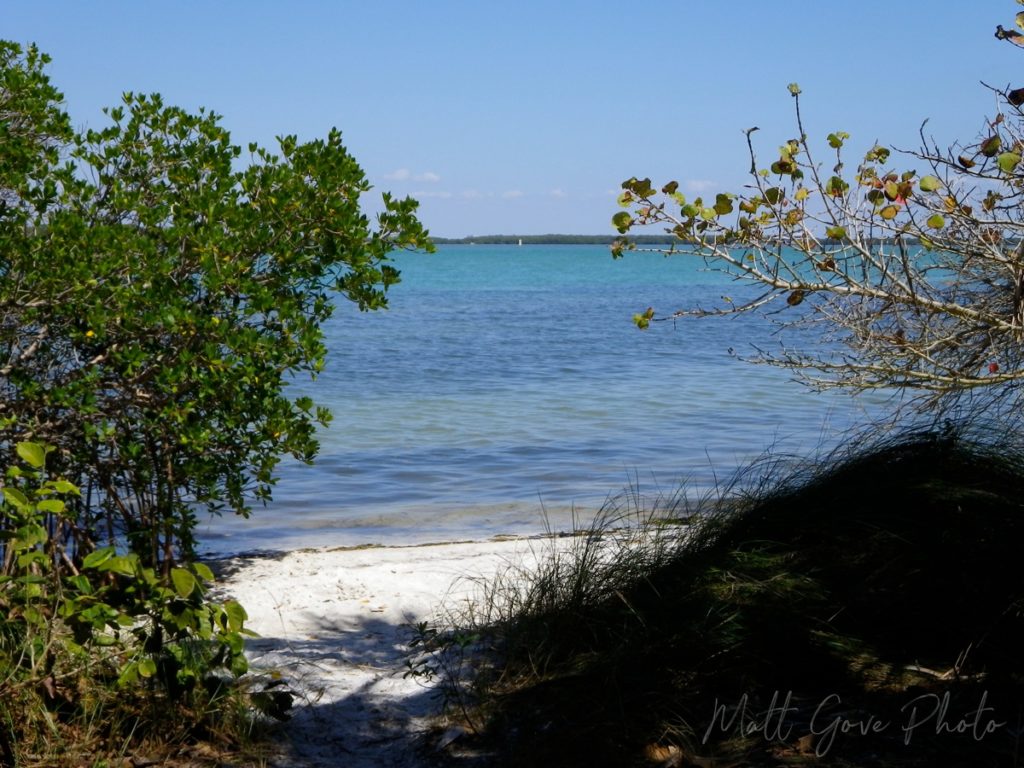
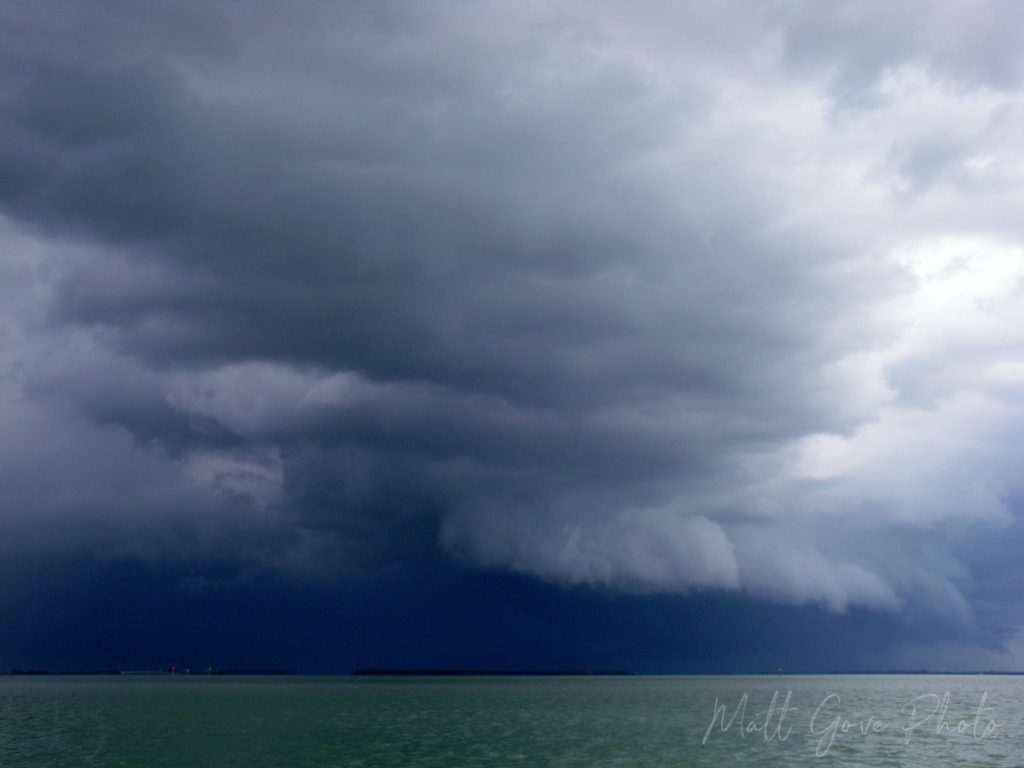
How did you feel when you looked at those photos? The first photo should leave you feeling relaxed, secluded, and tucked away. You may even feel refreshed at the thought of cooling off in the inviting waters. On the other hand, the second photo should get the adrenaline pumping a little. You probably feel a bit threatened or exposed, too, like you need to get to shelter.
We’ve only just scratched the surface of showing how powerful weather can be in landscape photos. You’ve got two photos with very similar landscapes that would not appear boring or homogenous on their own. Yet at the same time, two very different weather phenomena leave your viewer feeling two very different reactions to each respective photo.
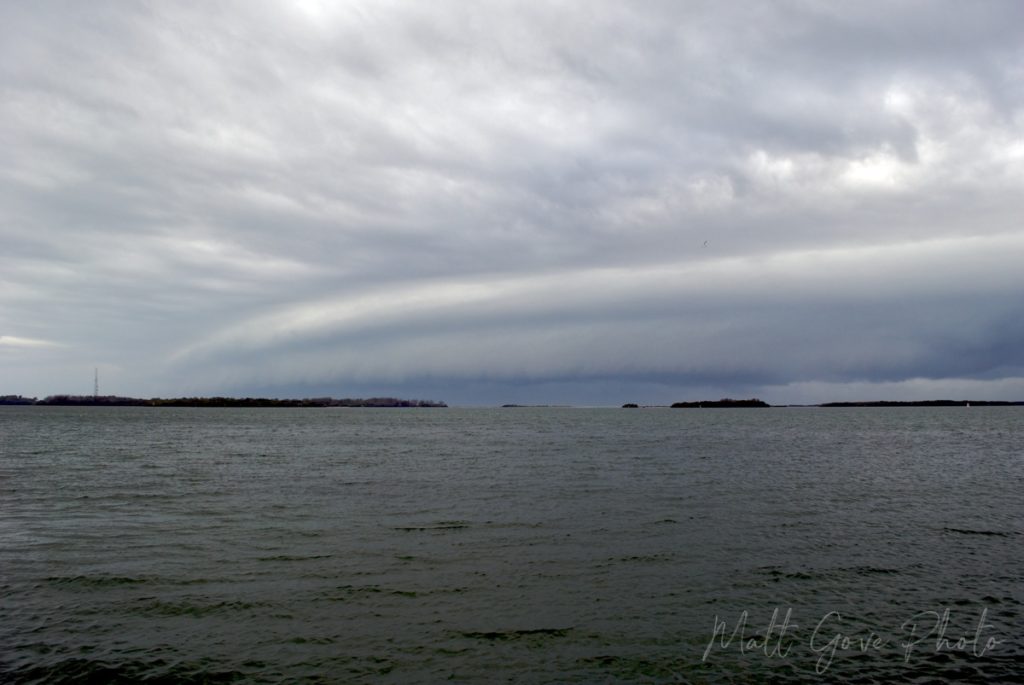
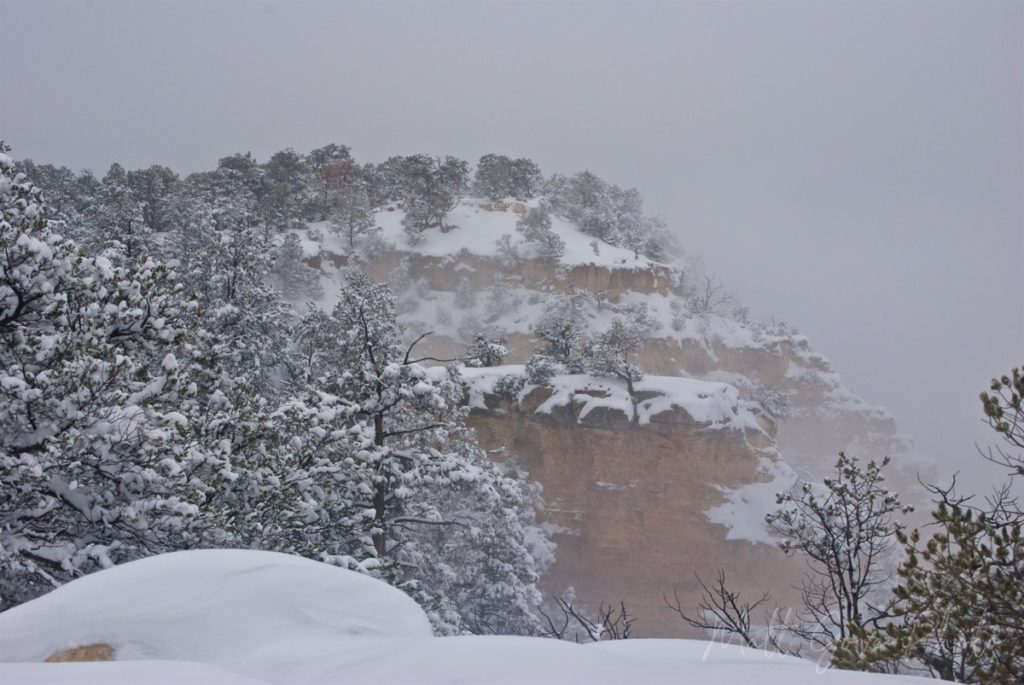
Before we move onto the next section, have a look at some more examples of using weather to draw out reactions and emotions in landscape photos. Pay special attention to how you’re reacting to seeing each photo. Then use those feelings to inspire your own landscape photography.
Use Color Theory to Your Advantage
The premise of color theory is simple. You want to use complimentary colors that not only look stunning together, but can also provoke reactions and emotions that align with your brand’s mission and values. You can keep color theory as simple as just looking at a color wheel, or your can dive into the fascinating mathematics behind it. We covered it all in full detail back in July, so I’ll refer you there for the details about color theory.
That being said, do recall that there are four bases that make up the basis of color theory.
| Basis | # of Colors | Explanation |
|---|---|---|
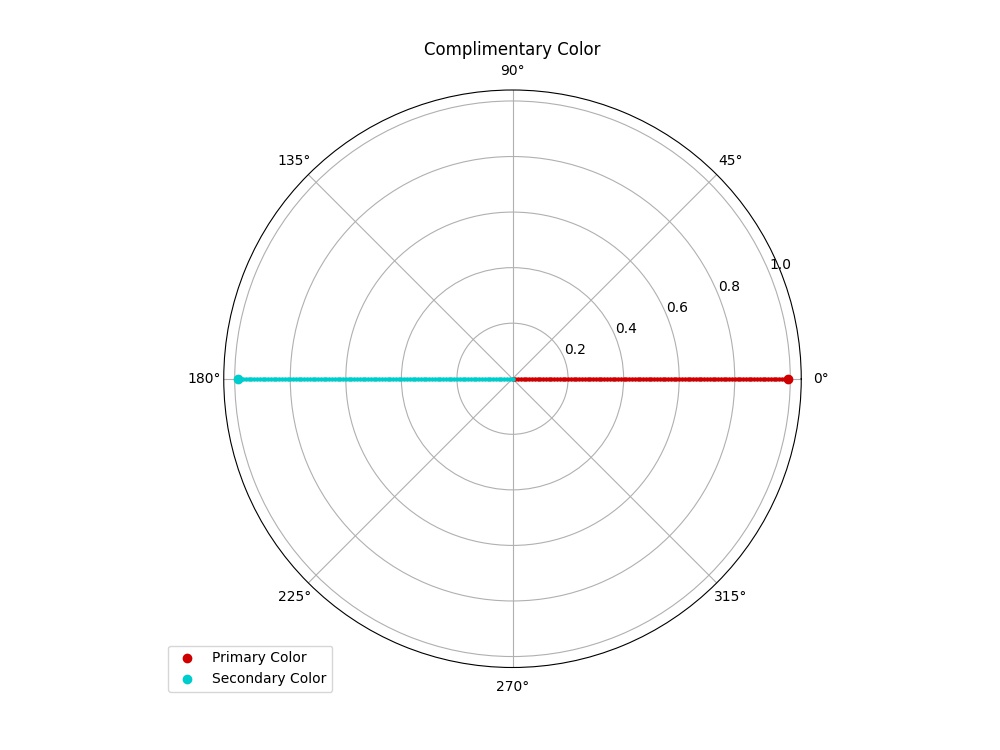
| Complimentary Colors | 2 | Opposite (180°) from your primary color on the color wheel |
| Adjacent Colors | 3 | Two colors offset 30° to 45° in each direction from your primary color on the color wheel |
| Triad Colors | 3 | Two colors offset 135° to 150° in each direction the your primary color on the color wheel |
| Tetrad Colors | 4 | Form a rectangle on the color made up of your primary color, complimentary color, one adjacent color, and one triad color |
Keep Color Theory in Mind When Composing Your Photos
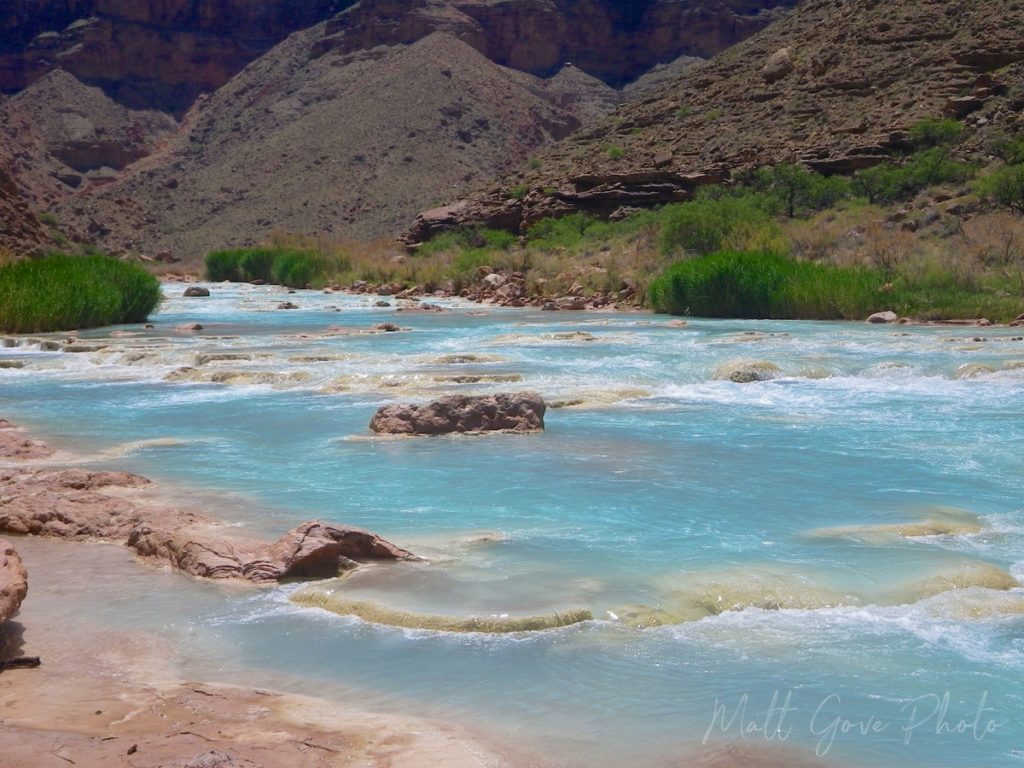
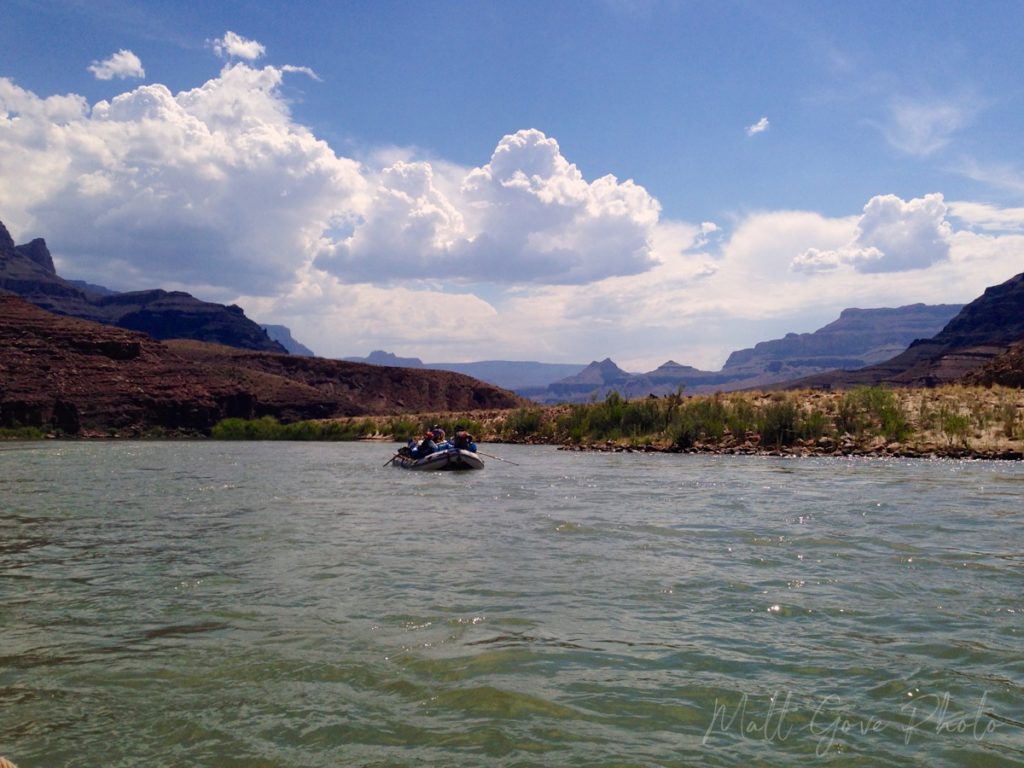
Have you ever seen photos from Havasupai Falls in Arizona? The brilliant red rocks provide a stunning backdrop to the brilliant turquoise waters in the falls. Yet when you look at photos of the emerald waters of the Colorado River inside of Grand Canyon, it just doesn’t generate the same reaction and emotions that Havasupai does. Why is that? They’re equally beautiful places.
The reason lies in color theory. The red rocks and turquoise waters at Havasupai falls are nearly perfect complimentary colors. You can actually mathematically prove that just the turquoise waters alone at Havasupai falls will look more stunning against the red rocks than the emerald waters of the Colorado River.
While I have never actually been to Havasupai Falls, I have been to the confluence of the Little Colorado River, which has the same brilliant turquoise waters as Havasupai. Have a look at the following pictures yourself. They were taken within about an hour of each other. Which one do you like better?
The Psychology of Color
I am no psychologist, but research has proven that different colors invoke different emotions. Indeed, businesses use the psychology of color in their branding and marketing. It’s very subtle, but when used correctly can be very powerful. It’s all done in the name of portraying your brand exactly how you want to.
| Color | Emotions |
|---|---|
| Yellow | Optimism, Clarity, Warmth |
| Orange | Friendly, Cheerful, Confidence |
| Red | Excitement, Youthful, Bold |
| Purple | Creative, Imaginative, Wise |
| Blue | Trust, Dependability, Strength |
| Green | Peacful, Growth, Health |
| Grey | Balance, Neutral, Calm |
For full details, here’s a really good article about the psychology of color.
Use Overcast Skies and Winter Landscapes for a Dramatic Pseudo-Black and White Effect
Embrace the lack of color on grey and cloudy days. While color theory can make those brilliantly colorful scenes dazzle, the lack of color can be equally as beautiful. As good as the lack of color looks on thick overcast days, it really shines in winter scenery. A little bit of color poking through a fresh blanket of snow can be spectacular.
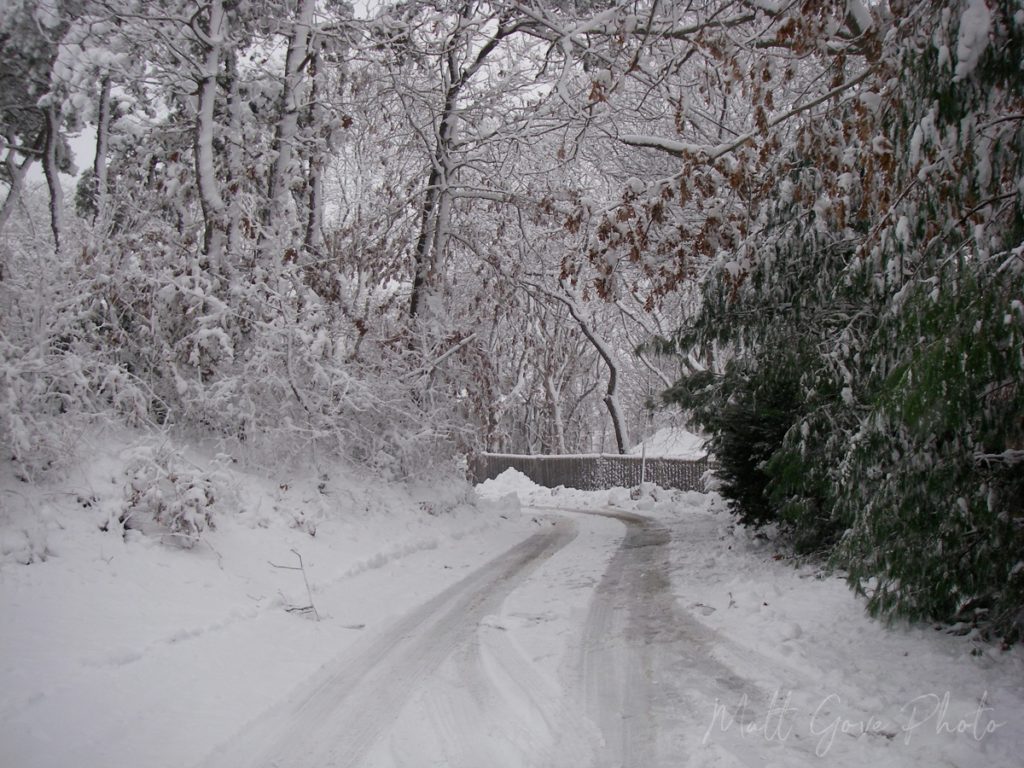
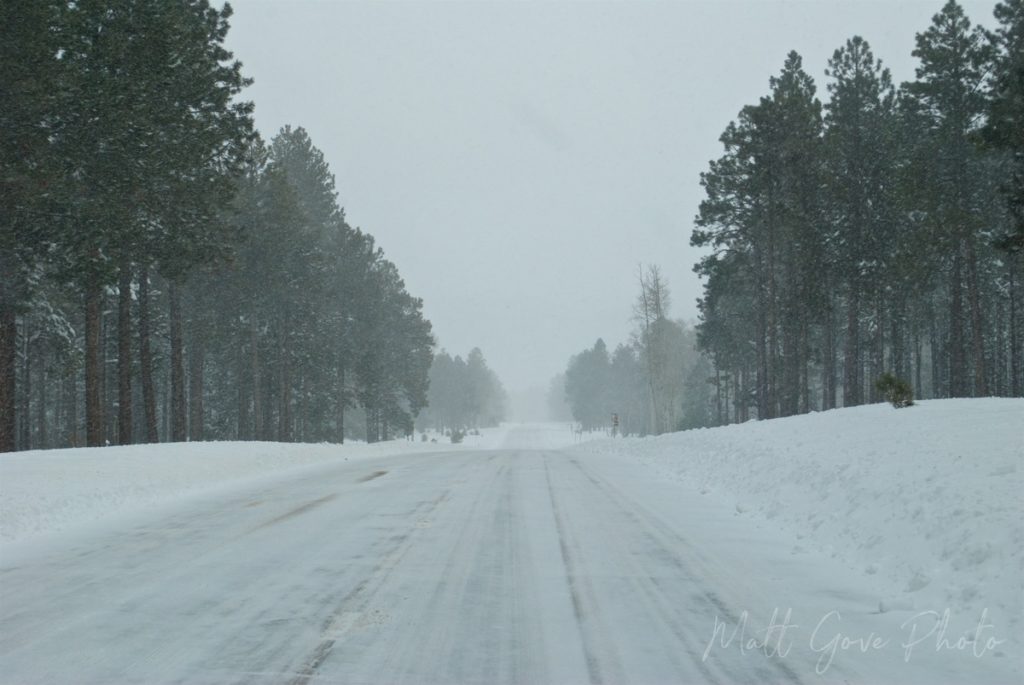
While you can certainly go full black and white if you want, I prefer to use the little bit of color in those images to my advantage. Use it to highlight the subject of your image or to accent the scene around the edges, like I did in the above photos.
You can also use light to highlight parts of your image in the total absence of color. Look for a situation where you have sunlight shining through broken clouds that shines on your subject like a spotlight. It should really stand out against a dark and colorless backdrop. Add a little color to your subject, and it’s pure magic.
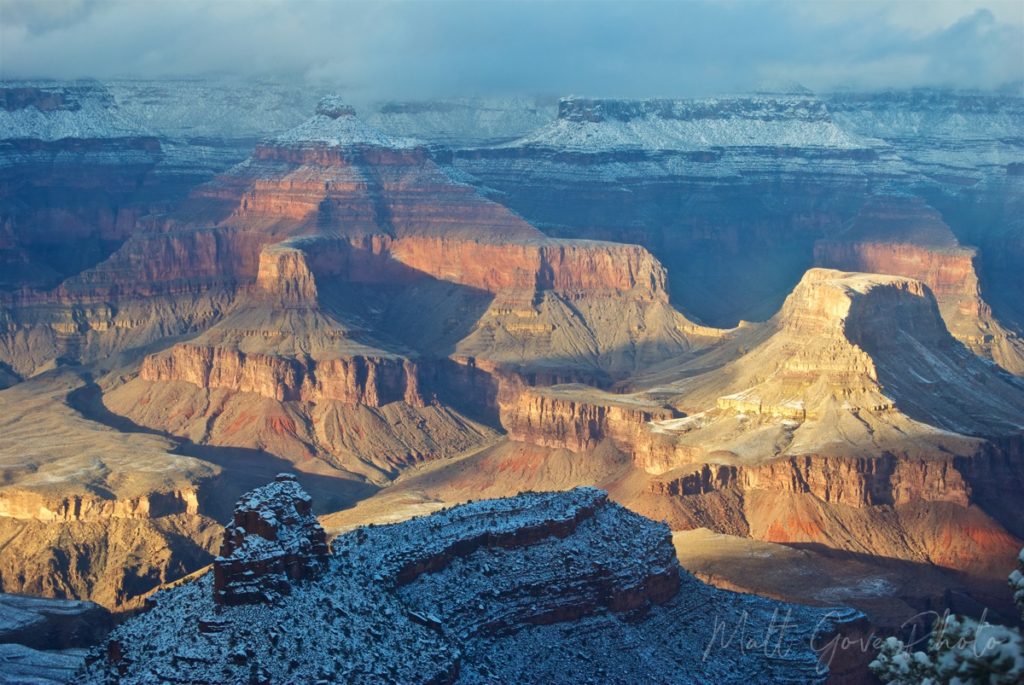
I do want to point out one important detail. Even though the background and foreground are dark and colorless, you can still both see it and tell what it is. This important detail gives your photo both depth and context. Without it, you won’t generate the reactions or evoke the emotions you had hoped.
Experiment with Different Times of Day When Taking Landscape Photos. But Even With the Addition of Weather, the Golden Hour is Still King.
Armed with basic knowledge of weather and color theory, there is no bad time for landscape photography. I don’t ever want to hear an excuse that you can’t take landscape photos in the middle of the day because the shadows are too harsh. Go out and take them anyway. You’ll be surprised at what you get. Even more, in the worst case scenario, just delete them if they’re no good. Nothing lost, nothing gained.
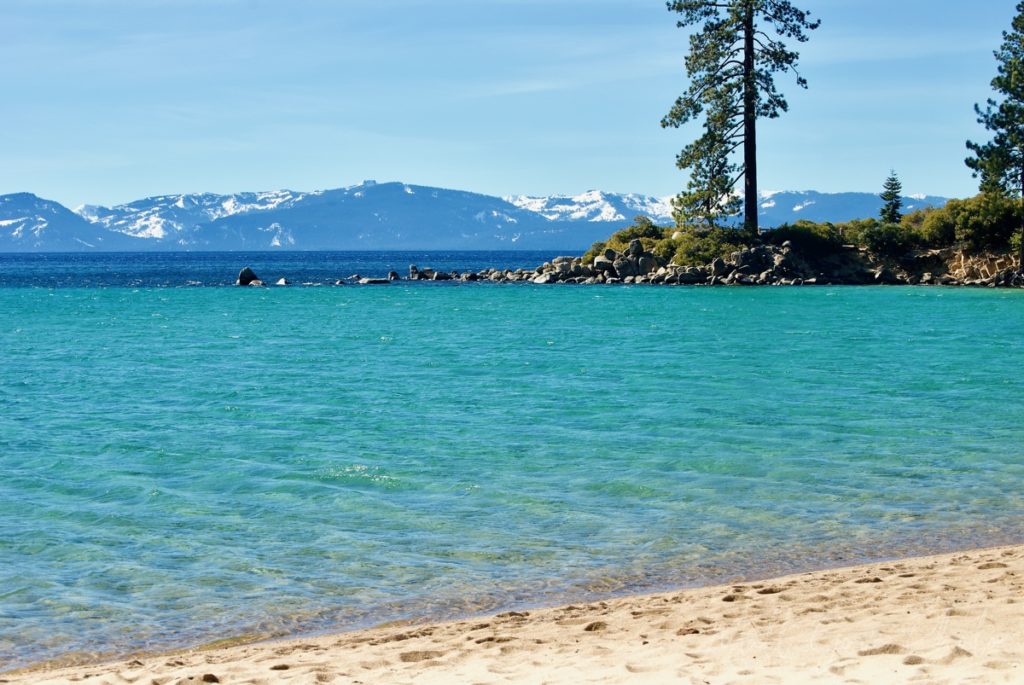
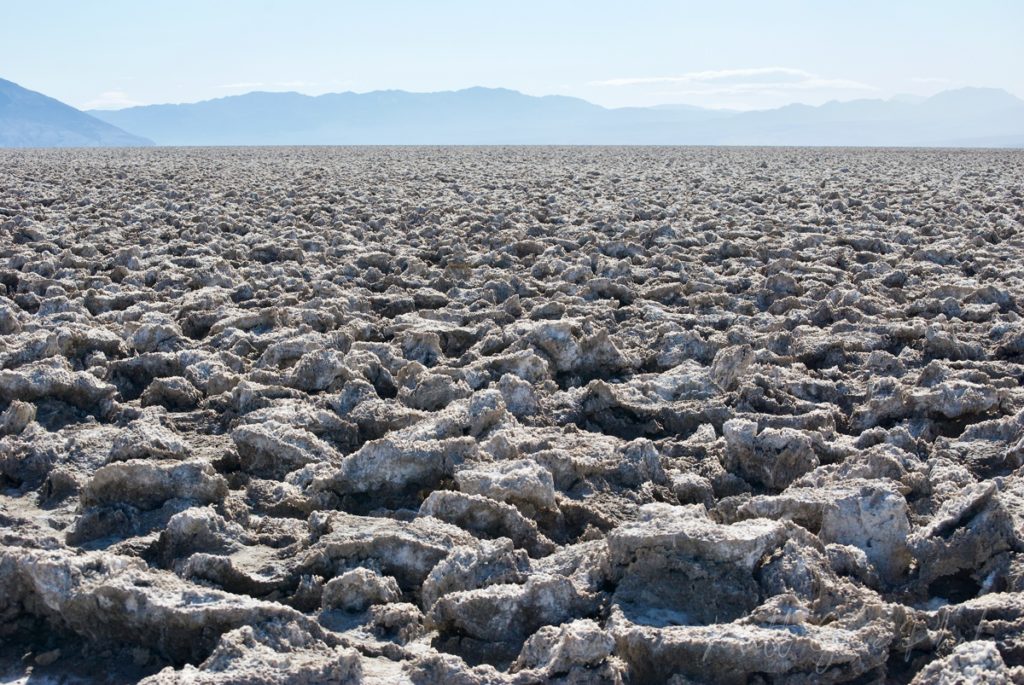
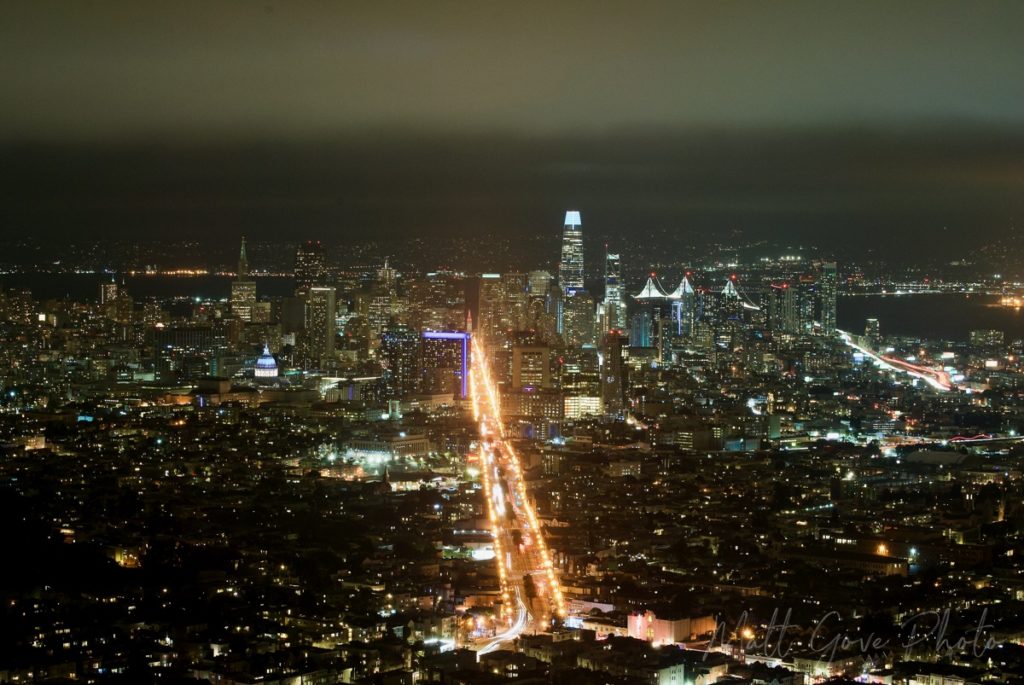
I also encourage you to try taking landscape photos at night. You can add some really cool effects to your photos using long exposures at night. If you’re in a really dark area, try looking beyond the weather and into outer space. Try to capture the Milky Way Galaxy in the sky or use a really long exposure to show the Earth’s rotation in the stars. On the other hand, if you’re just beginning, start out with a classic cityscape at night. You can’t go wrong with the glistening skyline of your favorite city lit up at night.
The Golden Hour Remains Second-to-None
While you can certainly make the argument that you can take beautiful landscape photos at any time of day, the Golden Hour remains the best time of day for landscape photography. No amount of weather can change that.
If you’re unfamiliar with the Golden Hour, it refers to the last hour before sunset and the first hour after sunrise. During that hour, the low sun casts a warm glow across the landscape. Long shadows add relief, texture, depth, and drama to your photo.
Not surprisingly, some of the best landscape and weather photos I’ve ever taken came during the Golden Hour. While I consider myself very fortunate to have such beautiful landscapes in Arizona, the Golden Hour photos I’ve taken elsewhere rival the Arizona photos more often than not. I could go on, but I’ll let the photos speak for themselves.
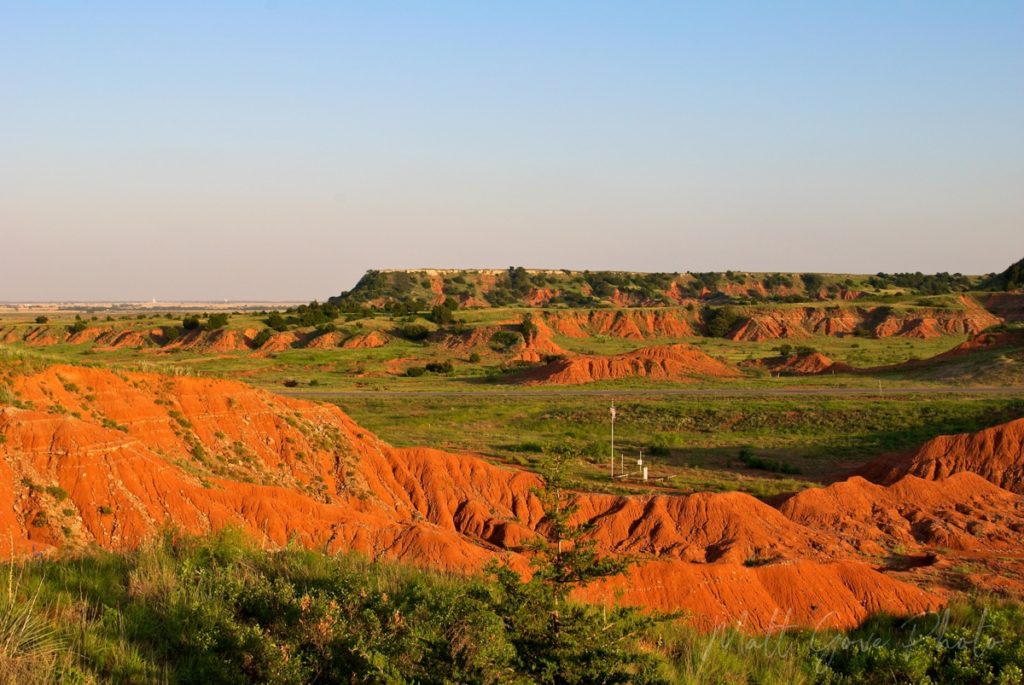
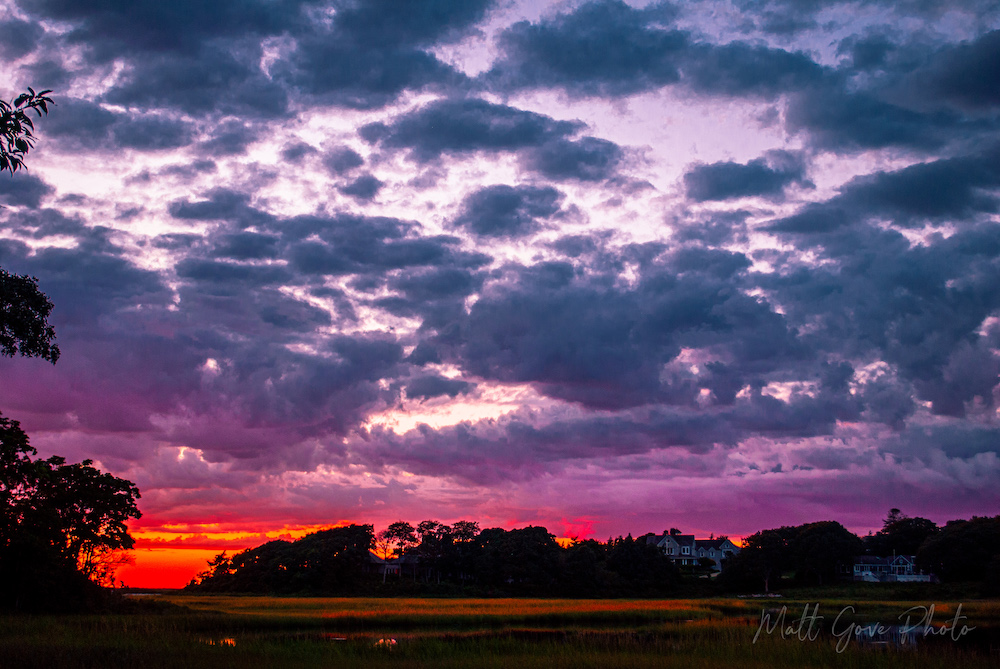
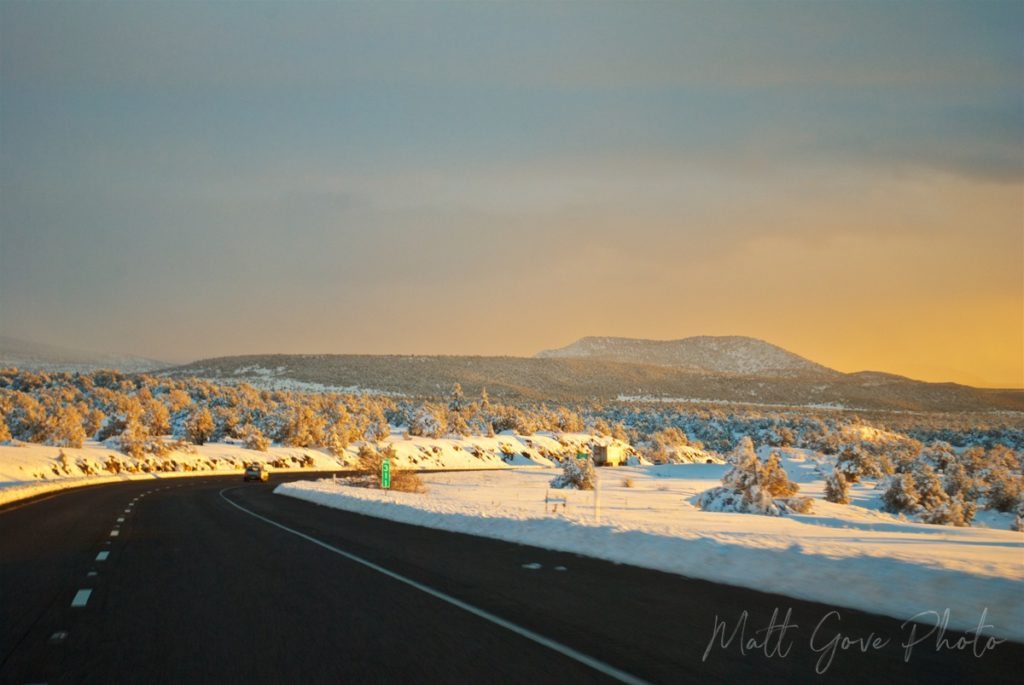
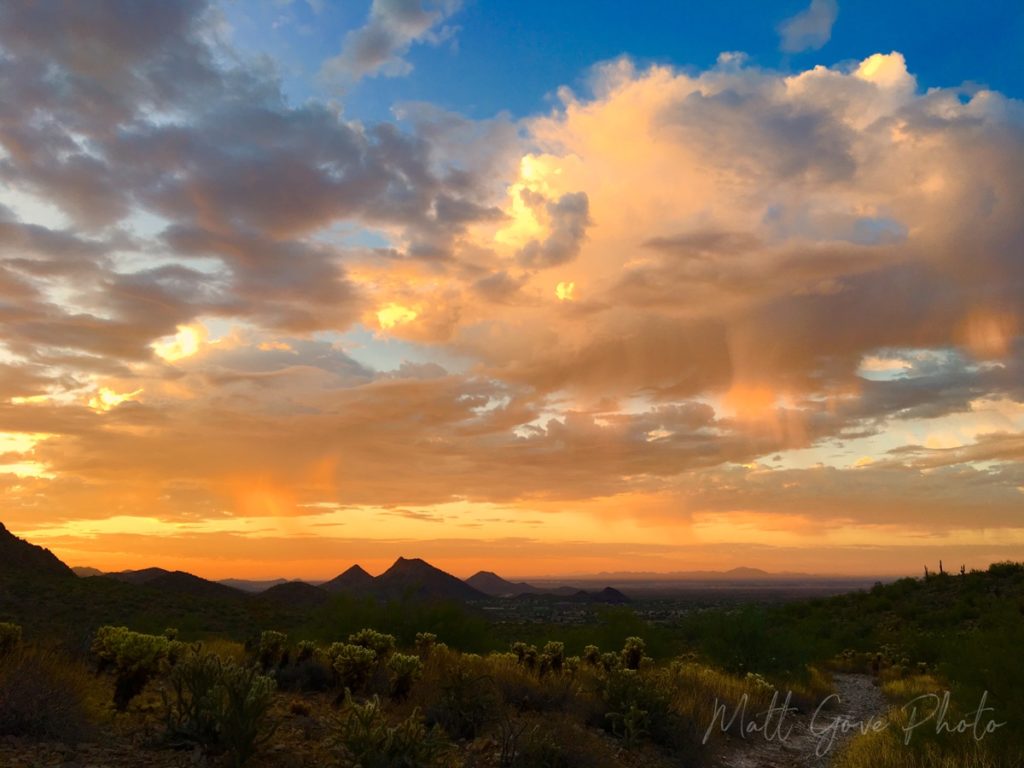
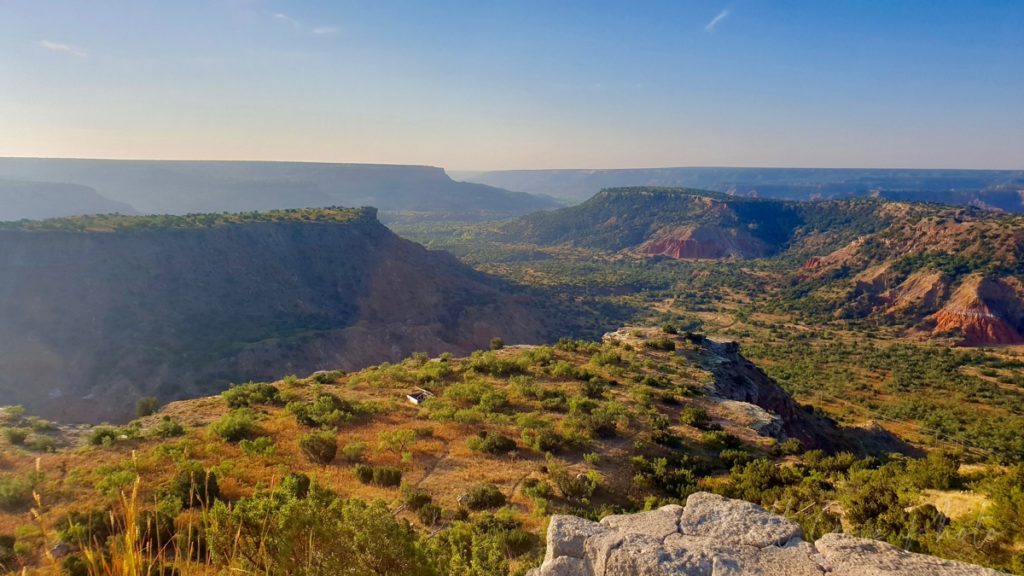
A Dramatic Sky and a Dramatic Landscape Are Spectacular Together
This one is simple math. The best of your weather composition plus the best of your landscape composition equals spectacular unrivaled beauty.
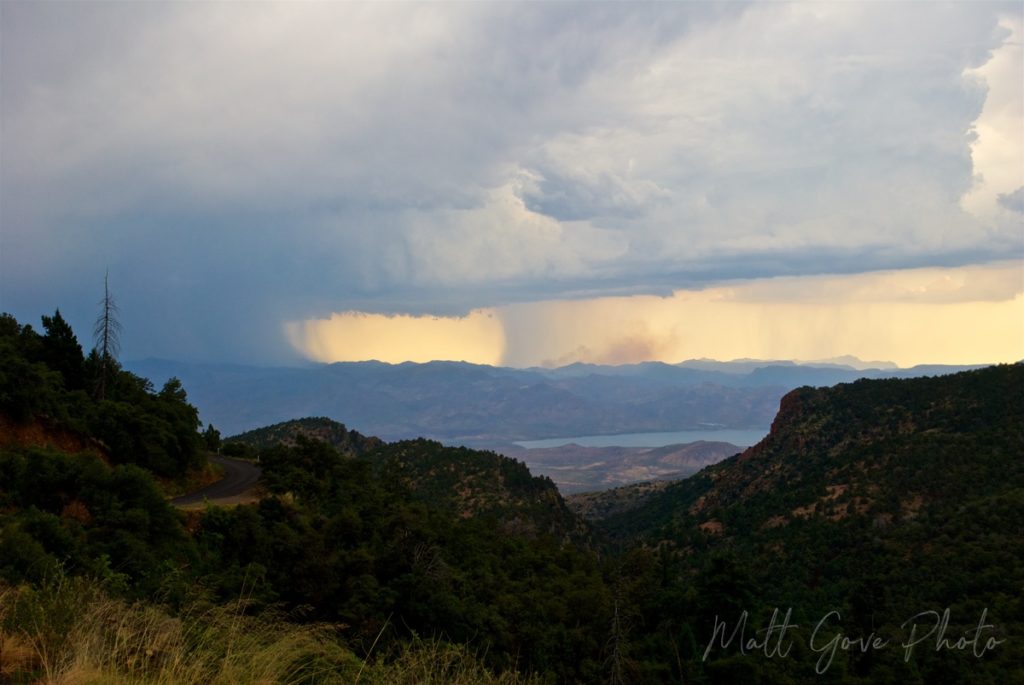
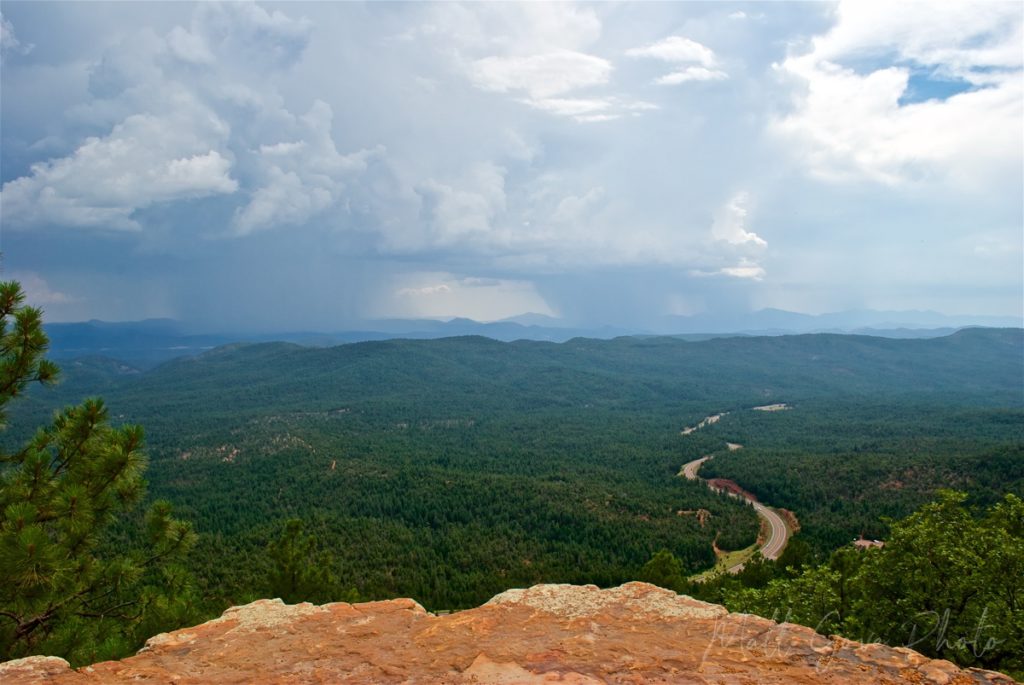
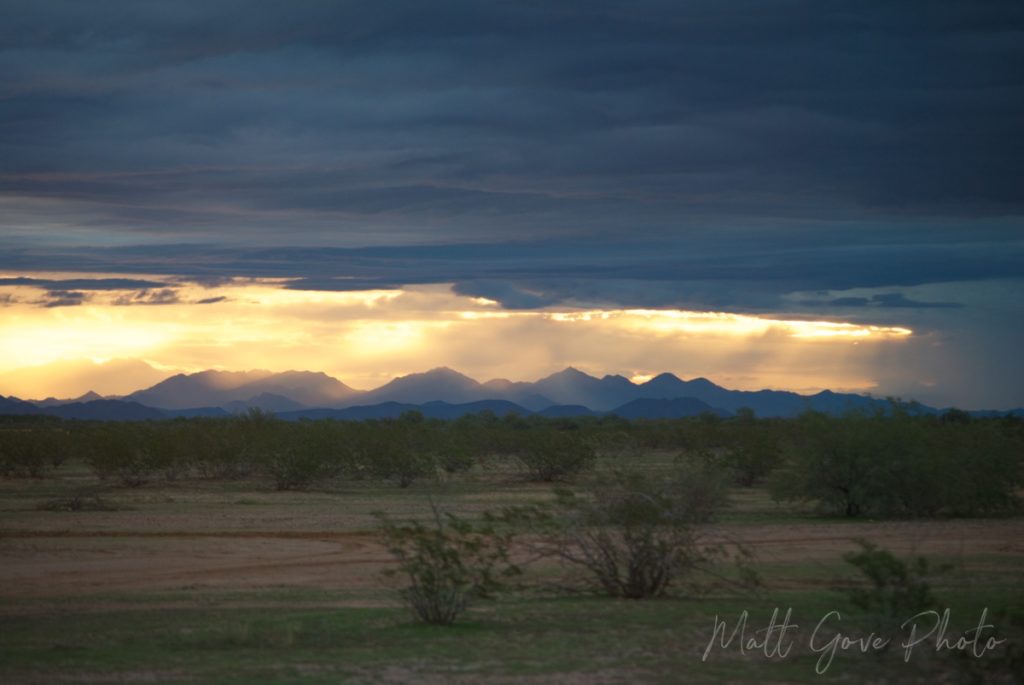
Use Long Exposures to Add Motion to Wind, Rain, and Snow in Your Landscape Photos
Because lighting for landscape photography cannot be controlled in a studio, using long exposures can risk permanently losing data to overexposure. To combat overexposure, shoot during the Golden Hour using a small aperture and/or filters. Once you lose data to overexposure, no amount of post-processing can recover it.
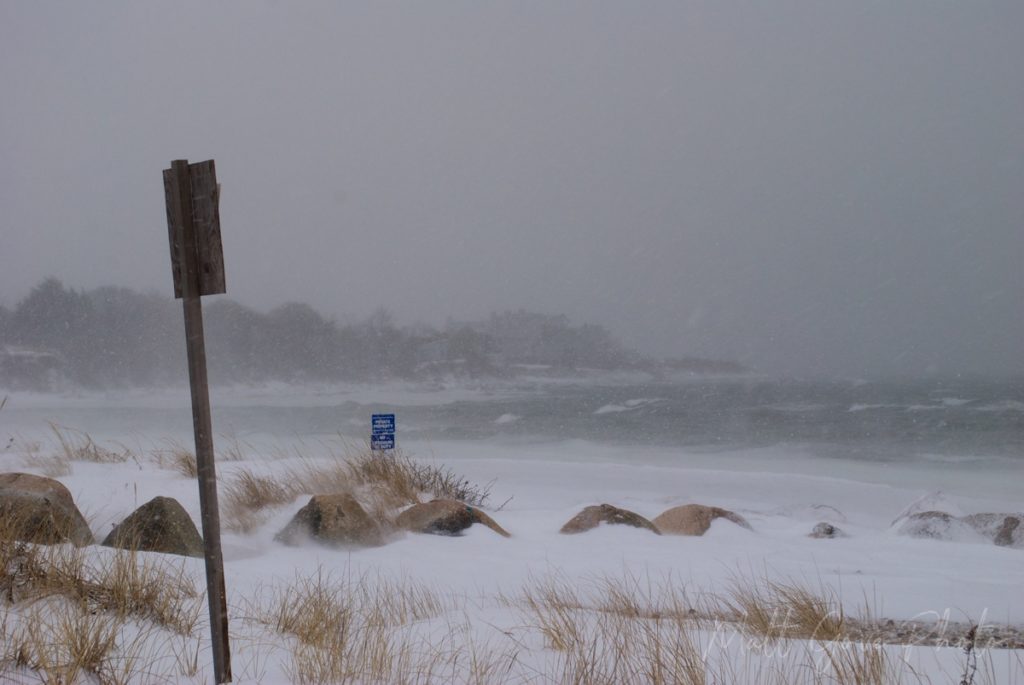
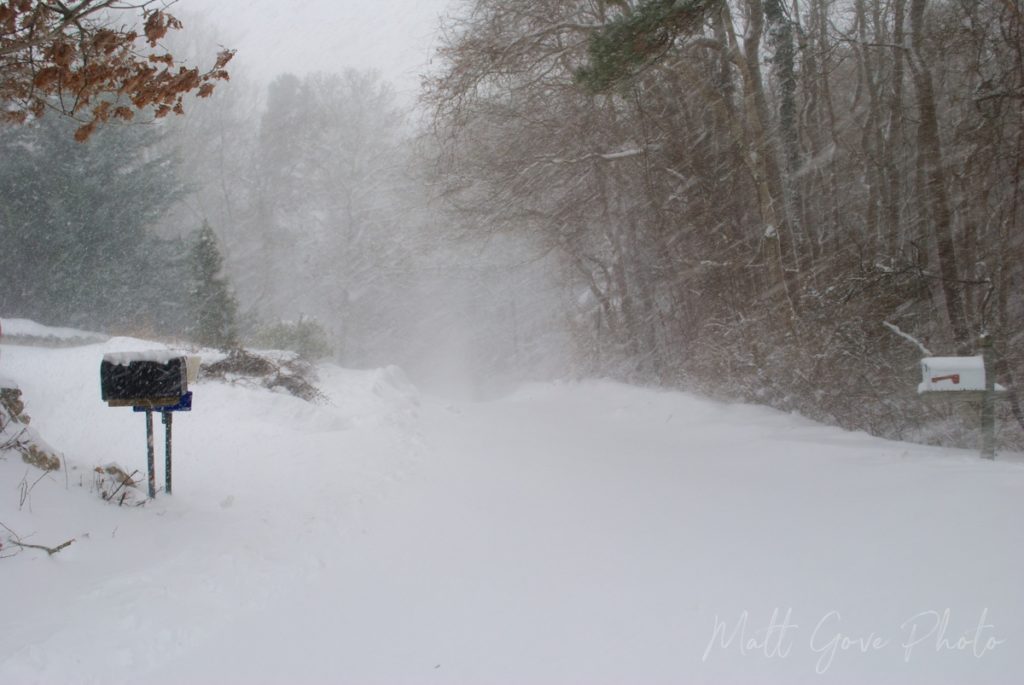
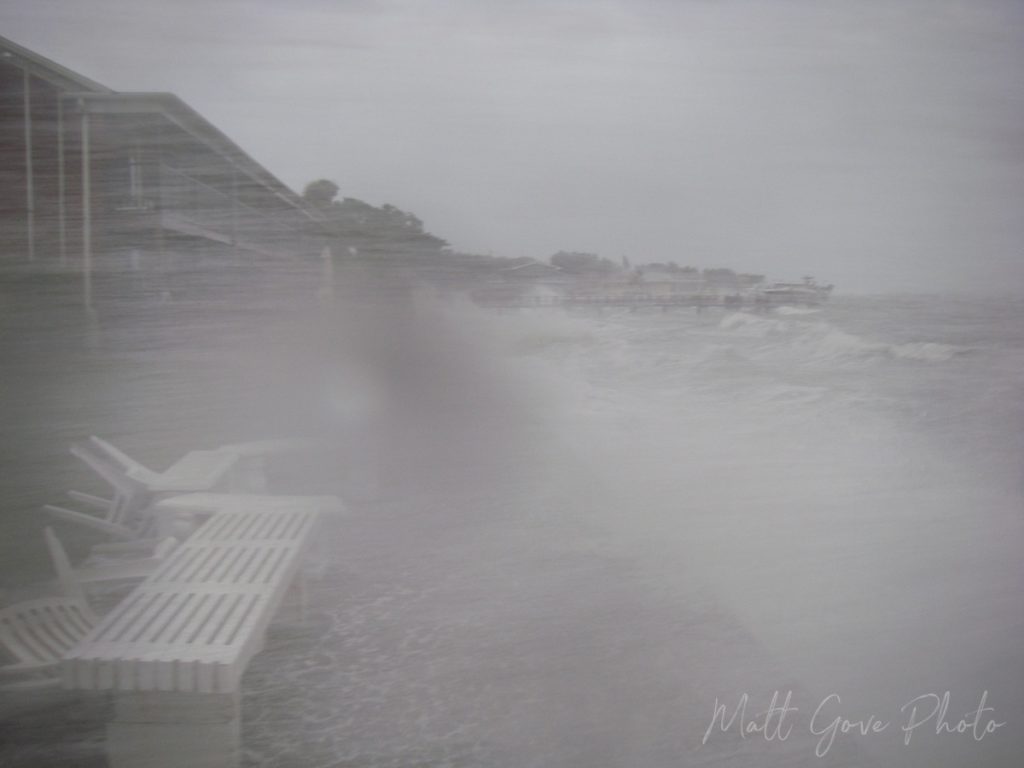
If you’re using certain types of weather to improve your landscape photos, showing motion is critical to your viewer being able to get the maximum experience. Unfortunately, showing motion in weather often subjects you to shooting in heavy wind. As a result, you really need to be using a tripod if you want any kind of viable results. Trying to hold the camera steady just won’t cut it. If you don’t have a tripod, try to use an elevated surface, post, or tree limb to hold your camera steady. It’s not perfect, but it’s a lot better than nothing.
To properly show motion in your landscape photos, only the objects that are actually in motion should appear to be moving. Everything else should be steady. If you try to show everything in motion, you’ll just wind up with a blurry photo. It’s the same as when you try to please everybody, you end up pleasing no one.
It’s generally okay to show small amounts of motion in objects that sway back and forth in the wind. I’m talking about the ends of tree limbs, flags, waves, moving vehicles, and the like here. If your photos depict entire trees and buildings in motion, you’re not doing it right.
Here are a few examples of photos that show motion correctly. I also want to point out that some of these certainly fall into the category of weather photos as opposed to landscape photography.
After the Storm Can be a 24-Hour Long Golden Hour
When I lived in Oklahoma, one thing that really struck me was just how spectacular the weather was after a major severe weather event. Never was this more true than following the 20 May, 2013 EF-5 tornado that tore through Moore, Oklahoma. A few days after witnessing that disaster unfold firsthand, I was sitting in my back yard reflecting on what had happened. The sun was out, temperatures were cool, and the weather was absolutely perfect.
As I reflected on the tornado, it dawned on me how some of the most breathtaking landscape photo ops occur during the first 24 hours immediately following a storm. This is exceptionally true following blizzards and winter storms. You can’t beat a fresh blanket of snow on any landscape. I’ll let the photos speak for themselves.
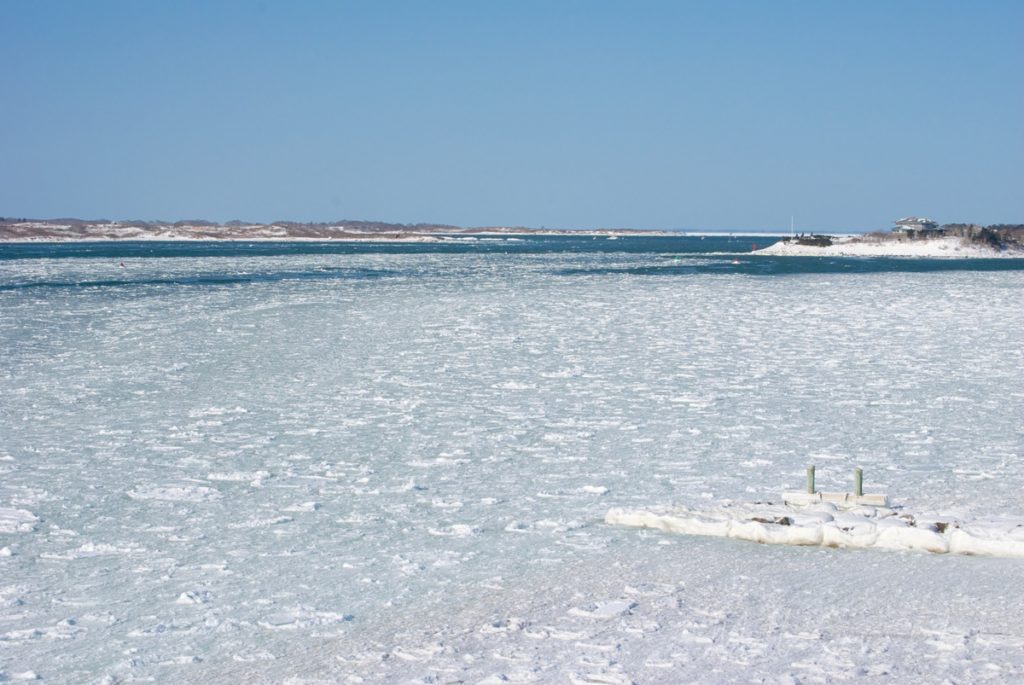
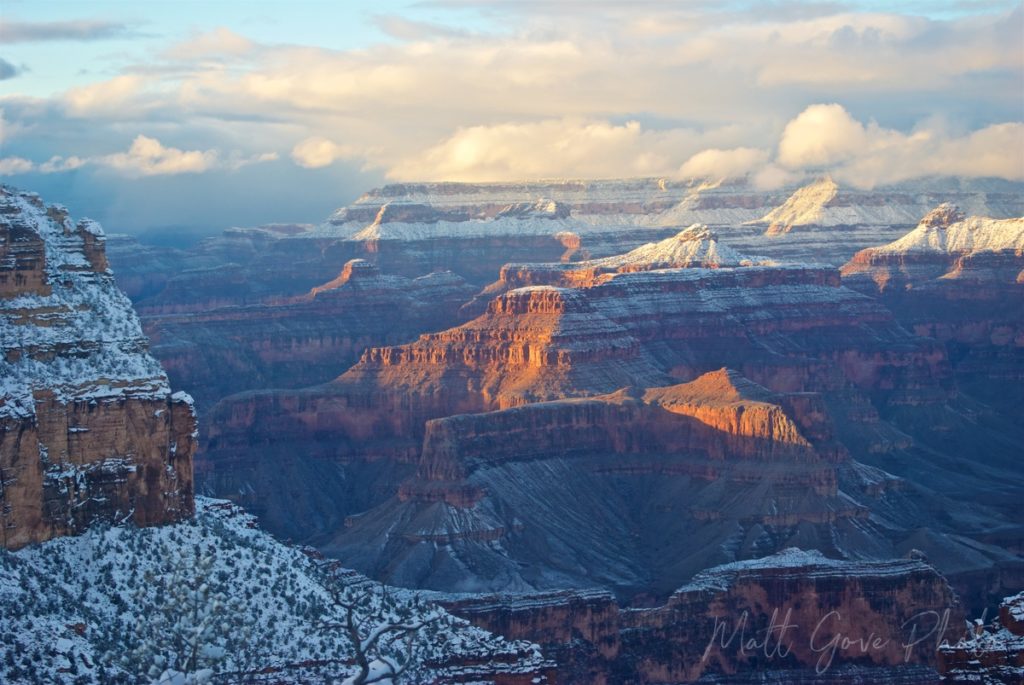
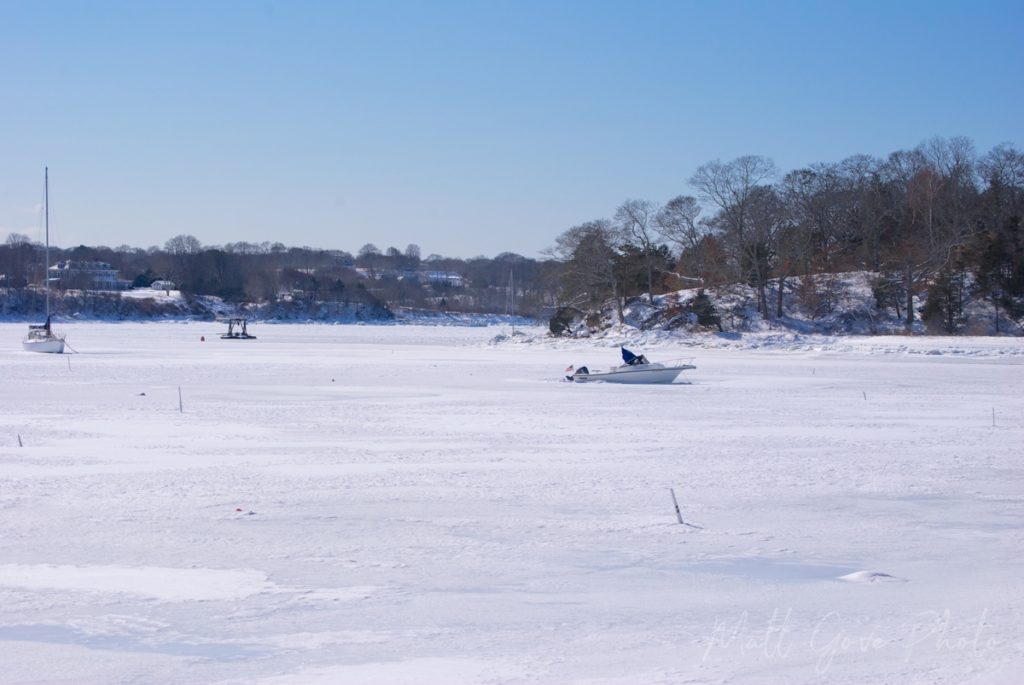
You can also find some extended Golden Hours leading up to storms. In the case of severe thunderstorms, you’ll find amazing photo ops out in front of the storm as it approaches, too. This is what the entire concept of storm chasing is based off of, so I could write an entire post on it. However, that’s a discussion for another day.
Conclusion
Weather is one of the most powerful and effective ways to inject new life, mood, and story into your landscape photos. From dramatic scenes to vibrant colors to the beautiful Golden Hour, there’s something for every landscape photographer’s style. No matter where you are in the world, you have both weather and landscapes at your fingertips to perfect your craft.
The strategy to using weather to get good landscape photos is similar to storm chasing. A little knowledge of weather and forecasting will put you ahead of the competition. You’ll know where the best spots to target for the best landscape photos are instead of just having to guess. You won’t always get it right, and it won’t happen overnight, but your landscape photos will go from good to amazing.
Want even more photography tutorials? Please checkout out our full collection of photography guides and sign up for our email list (in the sidebar at the top of the page), where you’ll receive free photography tutorials directly in your inbox.
Top Photo: An EF-3 Tornado Tears Across an Open Prairie During the Golden Hour
Harper, Kansas – May, 2012