Python Automation is one of the most powerful ways to improve your GIS workflow. In the past, many tasks in traditional GIS applications have had minimal support for writing your own code, and often required crude hacks to install obscure libraries.
As Python has rapidly grown in both functionality and popularity, it is now widely supported across, and even built into many GIS platforms. Adding Python scripting to your GIS workflow can accomplish tedious hours-long tasks in seconds. Full automation of your GIS processes with Python will free you up to focus the more important aspects of your project, regardless of what industry you’re in.
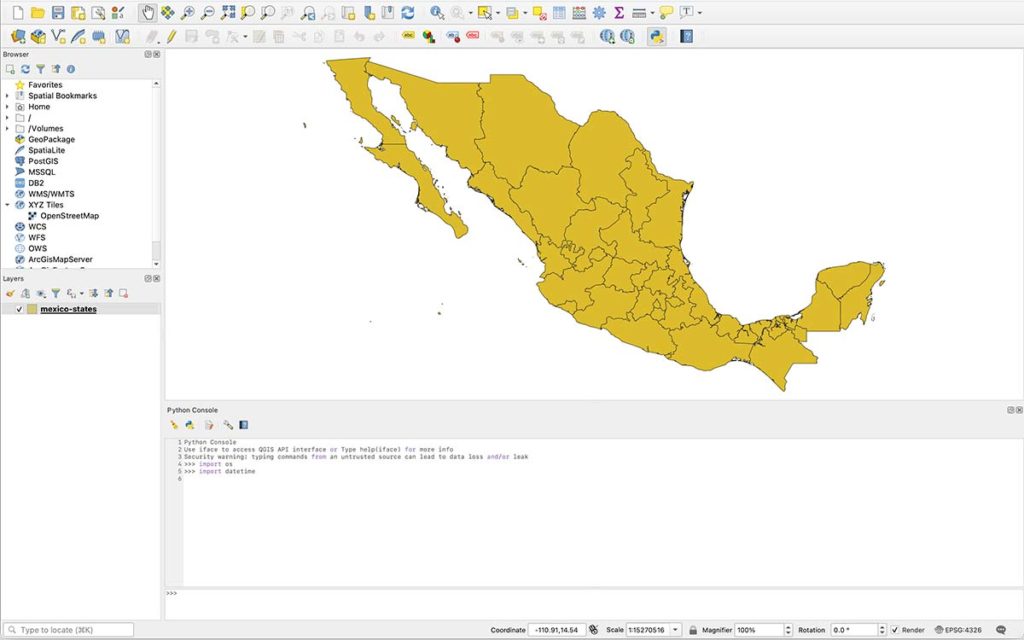
Automate Your Desktop GIS Application
Did you know that ESRI ArcGIS and QGIS are both written in Python? As a result, Python automation integrates effortlessly with both GIS platforms. The Python libraries for each platform are incredibly powerful, fast, and easy to use.
However, be aware that the Python libraries for ArcGIS and QGIS are specific to each platform. If you ever decide to change platforms, you’ll need to rewrite all of your Python scripts.
I recommend starting small to get your feet wet with GIS Python automation. Start by automating the symbology and color of your data before diving into data manipulations, calculations, and analysis. Then you can start tackling more complicated processes, such as file conversions, modifying layers, switching projections, and much more.
Automate Your Web-Based GIS Application
Automating web-based GIS applications with Python is not quite as seamless as with ArcGIS or QGIS. However, you can easily argue that it’s even more powerful. Web-based GIS applications are a bit more complicated than desktop-based platforms. In addition to the GIS software, you often need special servers and databases that are designed specifically for geospatial data.
Thankfully, this increased complexity also means that there are more opportunities for automation. I use Python automation on nearly all of my web-based GIS applications. I don’t have tutorials for all of these yet, but here are a few of my favorites.
- Generate Region Mapping Files and/or Metadata
- Set Up and Configure the Server
- Create and Configure your Geodatabase or Data Repository
- Data Entry and/or Analysis
- Convert ESRI Shapefiles into a Web-Friendly Format
- Mathematical Modeling
Remote Sensing Automation with Python
Most sensors these days come with Python libraries when you buy them. You should absolutely take advantage of those libraries. With Python, you can calibrate and configure the sensors exactly how you want them, not the way the manufacturer wants them.
In May of 2019, I installed sensors on the weather station I have at my house. The weather station runs on a network of Raspberry Pi’s. A Python script reads the data from each sensor, QA/QC’s it, and records it in the weather station’s database. If a sensor goes offline or makes a bad reading, the weather station pulls the data from the National Weather Service.
- DIY Weather Station: Building a Solar Radiation Shield from Scratch
- Wiring Power and Internet to the Sensors
- Installing the Data Logger and Connecting the Sensors
- Database Configuration and Programming the Sensor Readings
- Troubleshooting a Sensor Gone Awry
Take your remote sensing automations even further. Use Python GeoPandas to plot your data on a map. Perform a high-level data analysis using pandas or matplotlib. You can easily automate the whole process or leave yourself as much manual control as you wish.
Data Entry Automation with Python
Without data, you don’t have a GIS application. You just have a map. Furthermore, geodatabases and data repositories come in all different shapes and sizes. Thankfully, Python can easily handle all of these data types and schemas thanks to its robust and dynamic data science libraries.
Python’s pandas library is one of the most powerful data analysis libraries available in any programming language. The fact that it’s free and open source is even more incredible, given how expensive licenses to proprietary software can be. pandas can handle just about any data format and size you throw at it.
However, pandas on its own does not support any geographical or location-based data. Enter Python’s GeoPandas extension of the pandas library. GeoPandas gives you the ability to analyze geospatial data and generate maps using the same tools you have in pandas. Easily populate a geodatabase or assemble a repository of any supported GIS format, including shapefiles, CSV, GeoJSON, KMZ, and much more. For more information, please visit our collection of GeoPandas tutorials.

Data Analysis Automation with Python
With over 12 years of experience in professional data analysis, I know firsthand how tedious having repetitive tasks can be. Instead of the monotony of having to repeat those tasks over and over, why not automate them with Python? After all, Python developers created both pandas and matplotlib for that exact purpose. In the context of GIS, you can fully or partially automate many common tasks.
- Repetitive tasks to prepare and/or format the data for analysis
- Create maps of different areas using the same data parameters
- Generate multiple maps of the same areas using different data parameters

How to Trigger Your GIS Automation
To reach the nirvana of full automation, a Python script alone is not enough. You also need to automate the automation. Fear not, though, triggering your automation is the easy part. You have two options to choose from.
Trigger Your Automation to Run at a Set Time
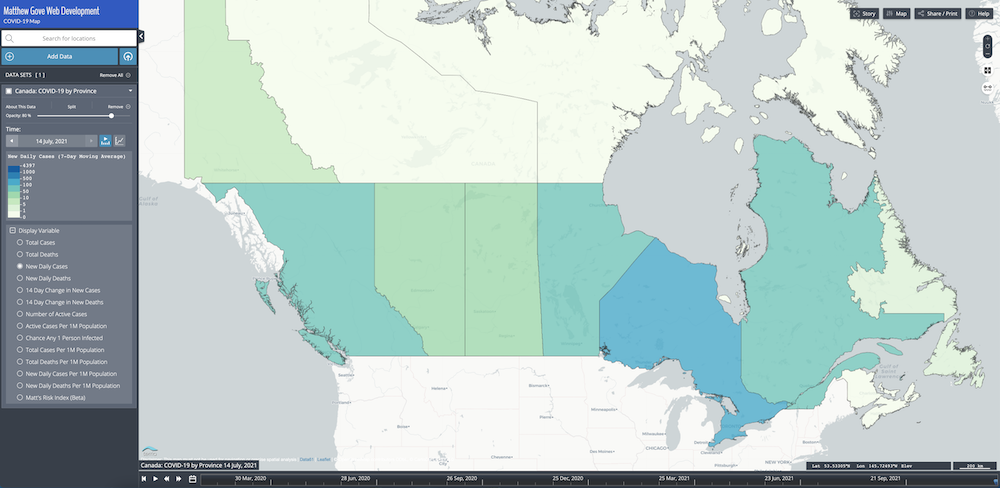
The majority of GIS automations run at the same time every day. Our COVID-19 dashboard is the perfect example of this. We have a Python script that downloads the COVID-19 data from the Johns Hopkins University GitHub repository, parses it, and adds it to our database. Unfortunately, our web hosting plan does not allow us to fully automate the script, so we automate it on a local machine and then upload the database to the production server.
Scheduling the automation on your computer or server is quick and easy. On Linux and Mac OS, use the crontab command to schedule a cron job, which is a job that runs at fixed dates, times, and/or intervals. Alternatively, use the Task Scheduler on Windows. Both schedulers give you full flexibility to schedule jobs exactly when you want them to run.
Trigger the Script to Run When a Specific Event Occurs
Alternatively, not all jobs run at a specific time or interval. Have a look at the map of the Matt Gove Photo albums and videos. There is no logical need to run the job at a set time or interval. Instead, we update the map whenever we add a photo album or video to the database. As soon as the new album or video lands in the database, it automatically adds the data to the map.
In Python, the simplest way to trigger your GIS automation is a call to a function that runs the automation. For example, let’s look at the logic of adding photos and videos to the Matt Gove Photo map. In its simplest form, the logic for adding a photo album would look something like this.
# Add a Photo Album to the Database
add_photo_album_to_database(album_parameters)

# Once the database is updated, update the map
update_map(album_parameters)
This example is very oversimplified, but you get the point. For even finer control, use conditional logic and loops for precisely triggering your scripts exactly when you want.
Don’t Forget to Test Your Automation Scripts Before Putting Them into Production
We all make this mistake at one point or another. You beam with pride when you finish your automation script, and schedule it to run for the first time overnight. The next morning, you log in eagerly expecting to see the output of your automation. Instead, you see nothing, or even worse, you see an error message. You facepalm yourself because you forgot to test everything!
The best way to test your automation is to write a few quick unit tests once you finish your script. If you’re unfamiliar with a unit test, it tests individual units of code in your script. You tell the test the expected outcome for a given parameter, and then run that parameter through the block of code. If the script output matches the expected output, the test passes. If not, it fails.
For example, let’s say you programmed a calculator application. To set up a unit test for addition, execute 2 + 2 with the calculator, and see if you get 4. Repeat the process with unit tests for subtraction, multiplication, and division. The best part about unit tests is that you can run a lot of them in a short amount of time. If you’ve written them correctly, they’ll tell you exactly where in the script any problems are.
Use Creativity and Innovation in Your Python Automation
Once you get your feet wet with GIS automation using Python, keep automating. I encourage you to get creative and come up with new, innovative ways that will improve your workflow even further. The sky really is the limit when it comes to automation.
Conclusion
The days of managing bloated and complicated workflows with expensive software are a thing of the past. Python automation is the future, not just in GIS, but also in nearly every industry out there. Start out with simple tasks to whet your palette. Once you get a taste of it, don’t be afraid to tickle that creative or innovative itch we all have. You’ll be amazed at the amount of time and money it can save. Let us help you get started today.
Top Photo: View of Death Valley from Sea Level
Death Valley National Park, California – February, 2020